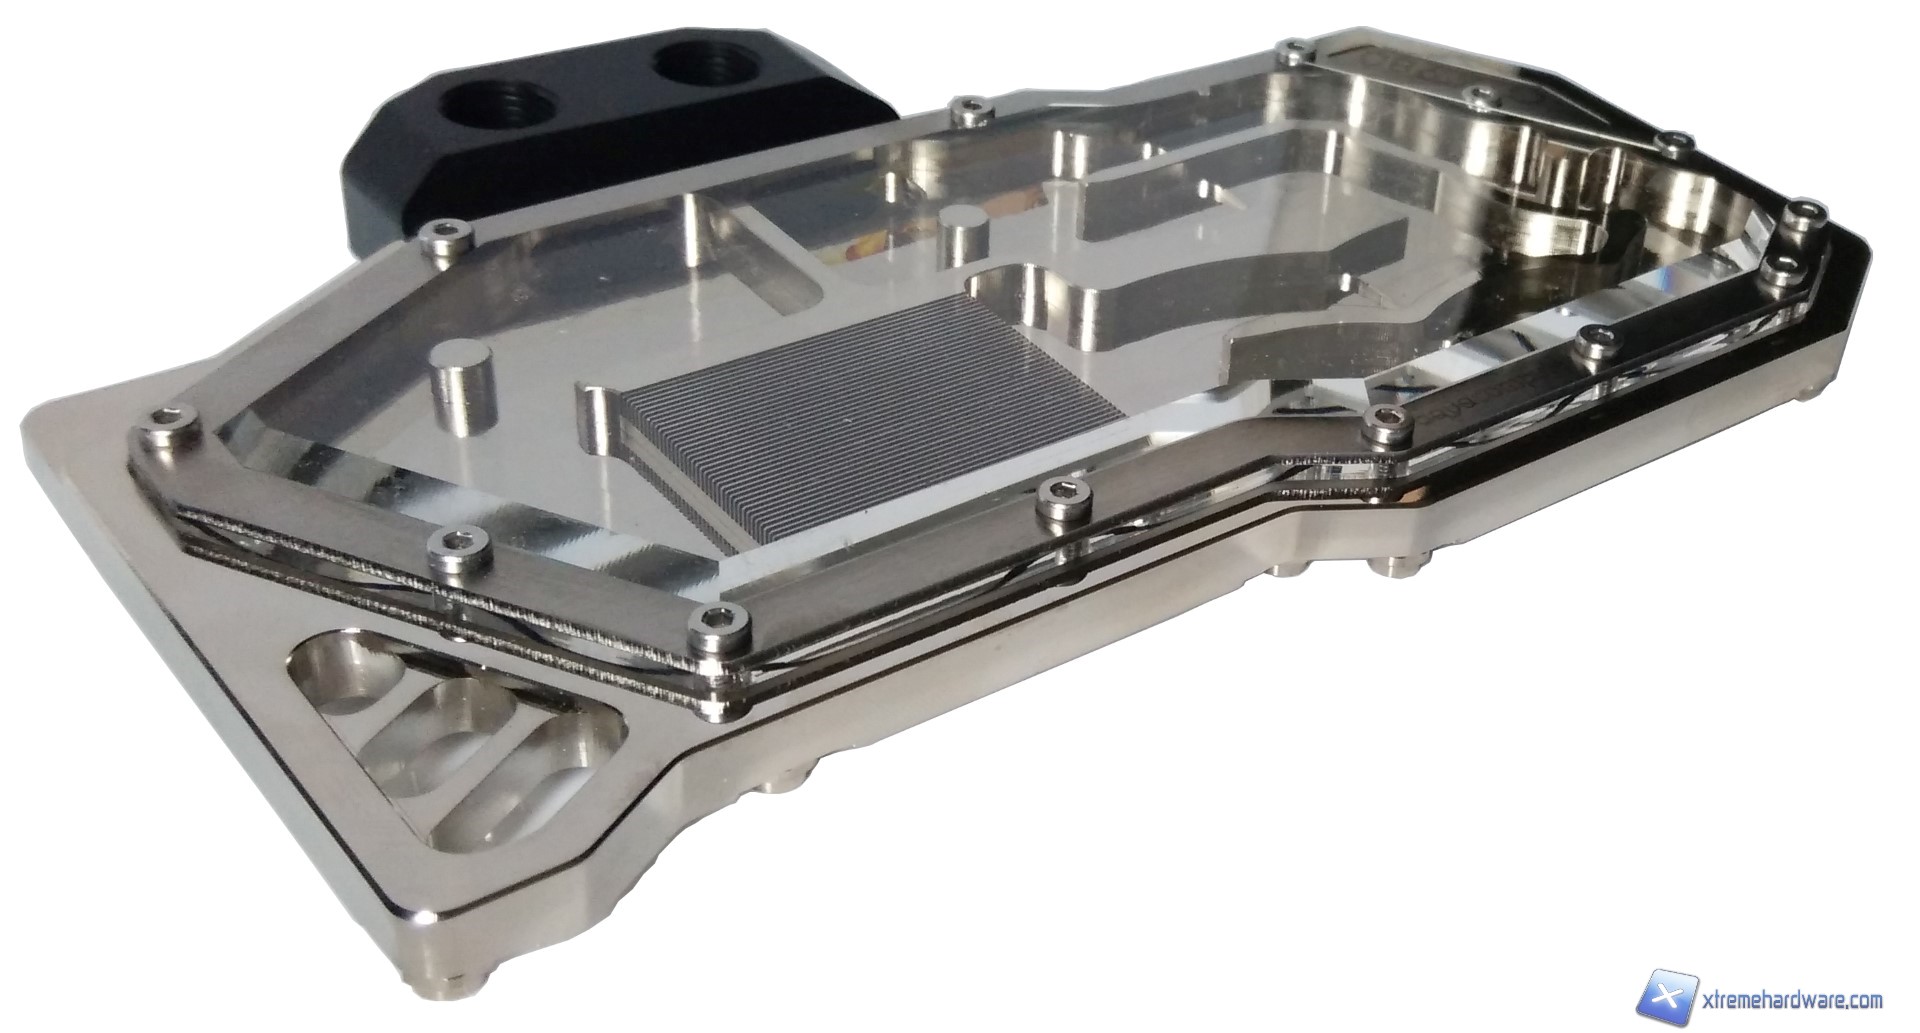
Hi to all Xtremehardware.com friends, especially to liquid cooling fans! Today, we’ll talk about full-covers again, starting the reviews of these products for Nvidia GeForce GTX 980 video cards.After several reviews published about Nvidia GeForce GTX 780 and AMD Radeon R9 290 waterblocks, it is now time to move on to the next series. The first full-cover for Maxwell (GM204) was offered by Aquacomputer, who sent us an amazing Kryographics GTX 980 acrylic glass edition, nickel plated version. Here the Italian Review [Italian Version].
.
Pubblicità
Aquacomputer Kryographics GTX 980 Acrylic Glass Edition: assembling instructions
Let’s now take the instruction manual and assemble the fullcover.
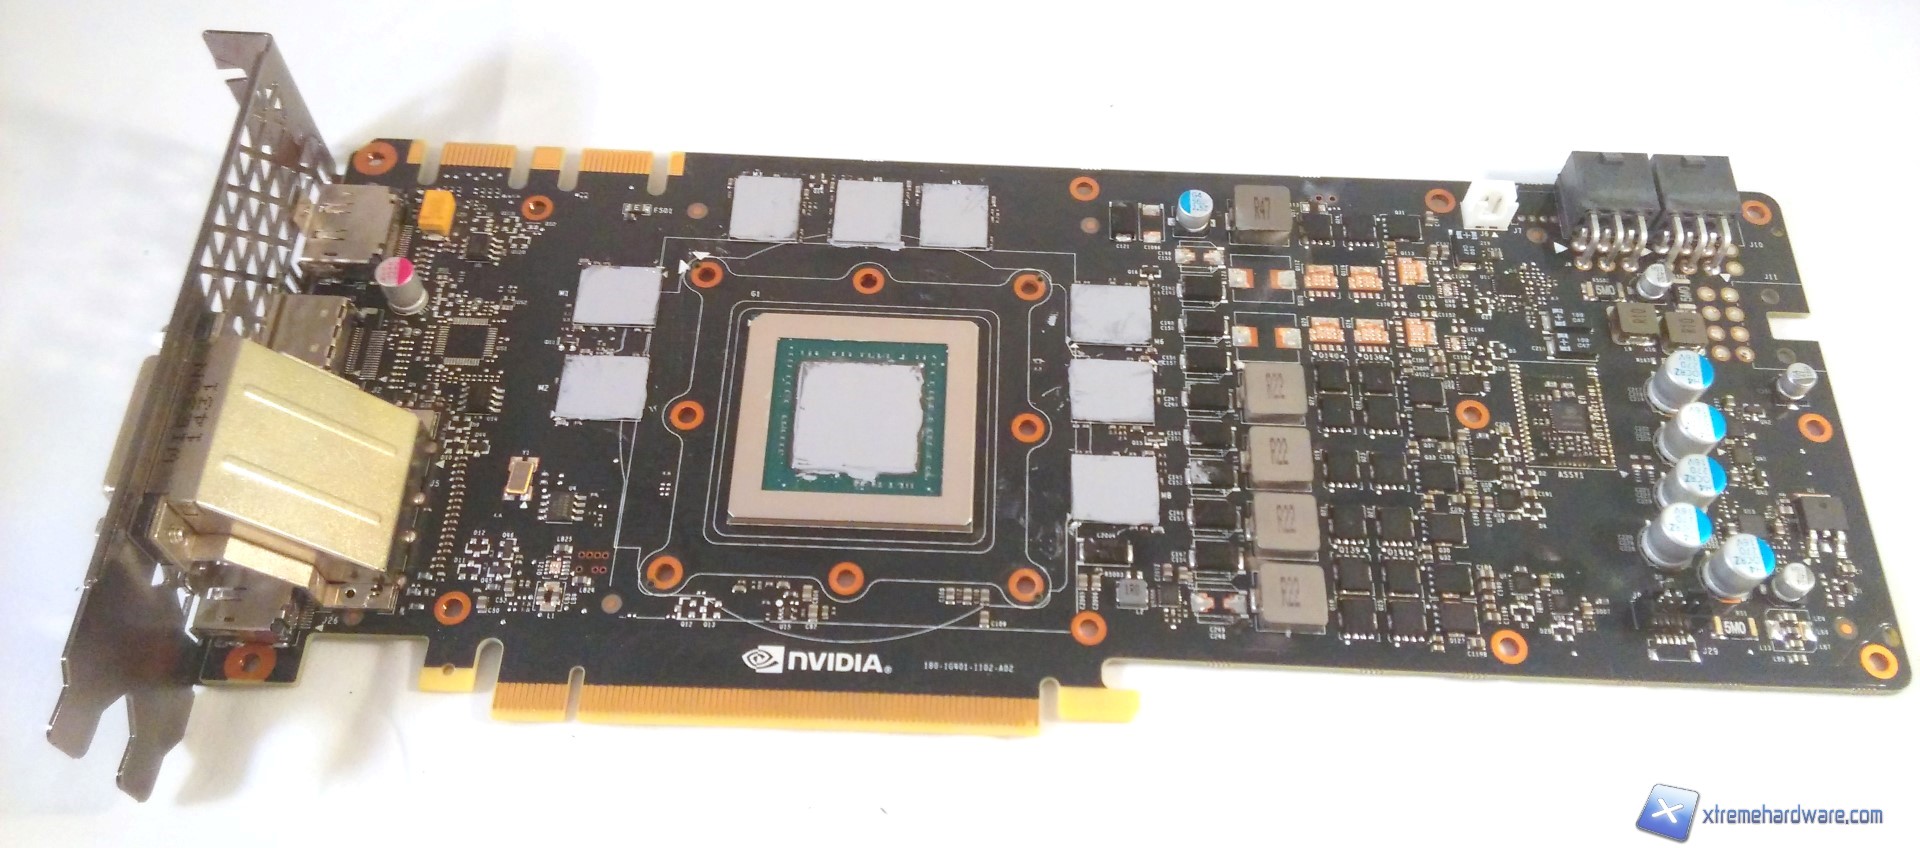
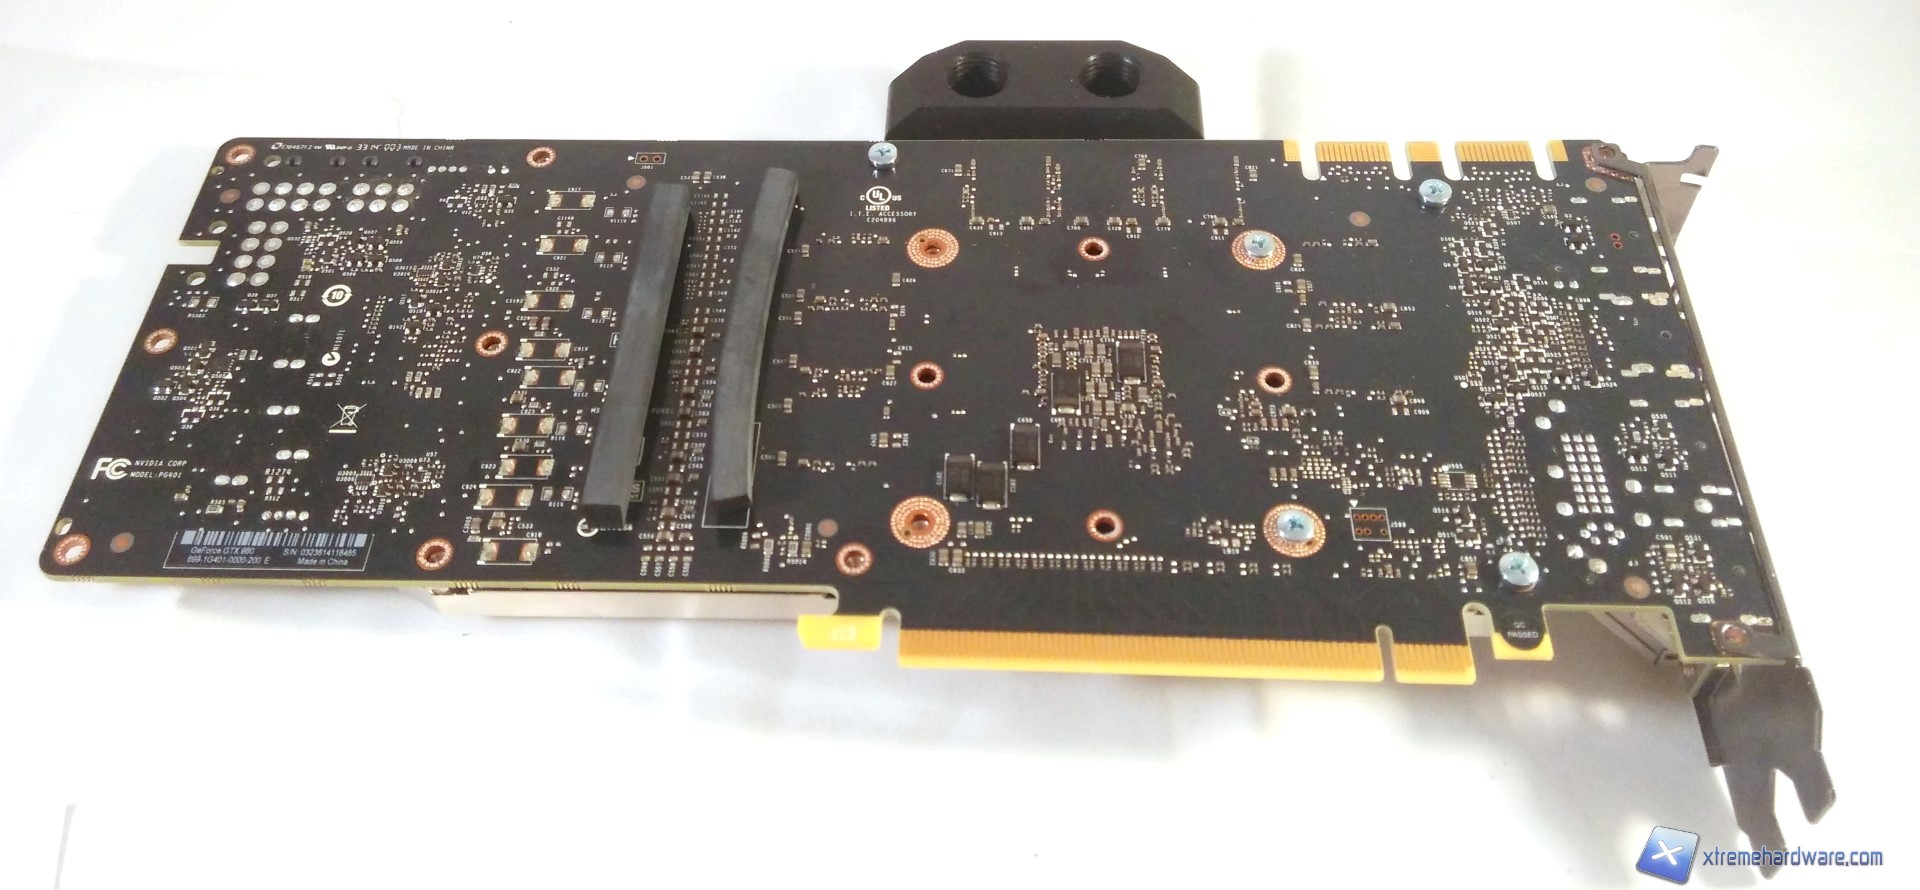
For the test, we will use an EVGA GTX 980 and obviously we will disassemble it by taking out the backplate and the reference heat-sink
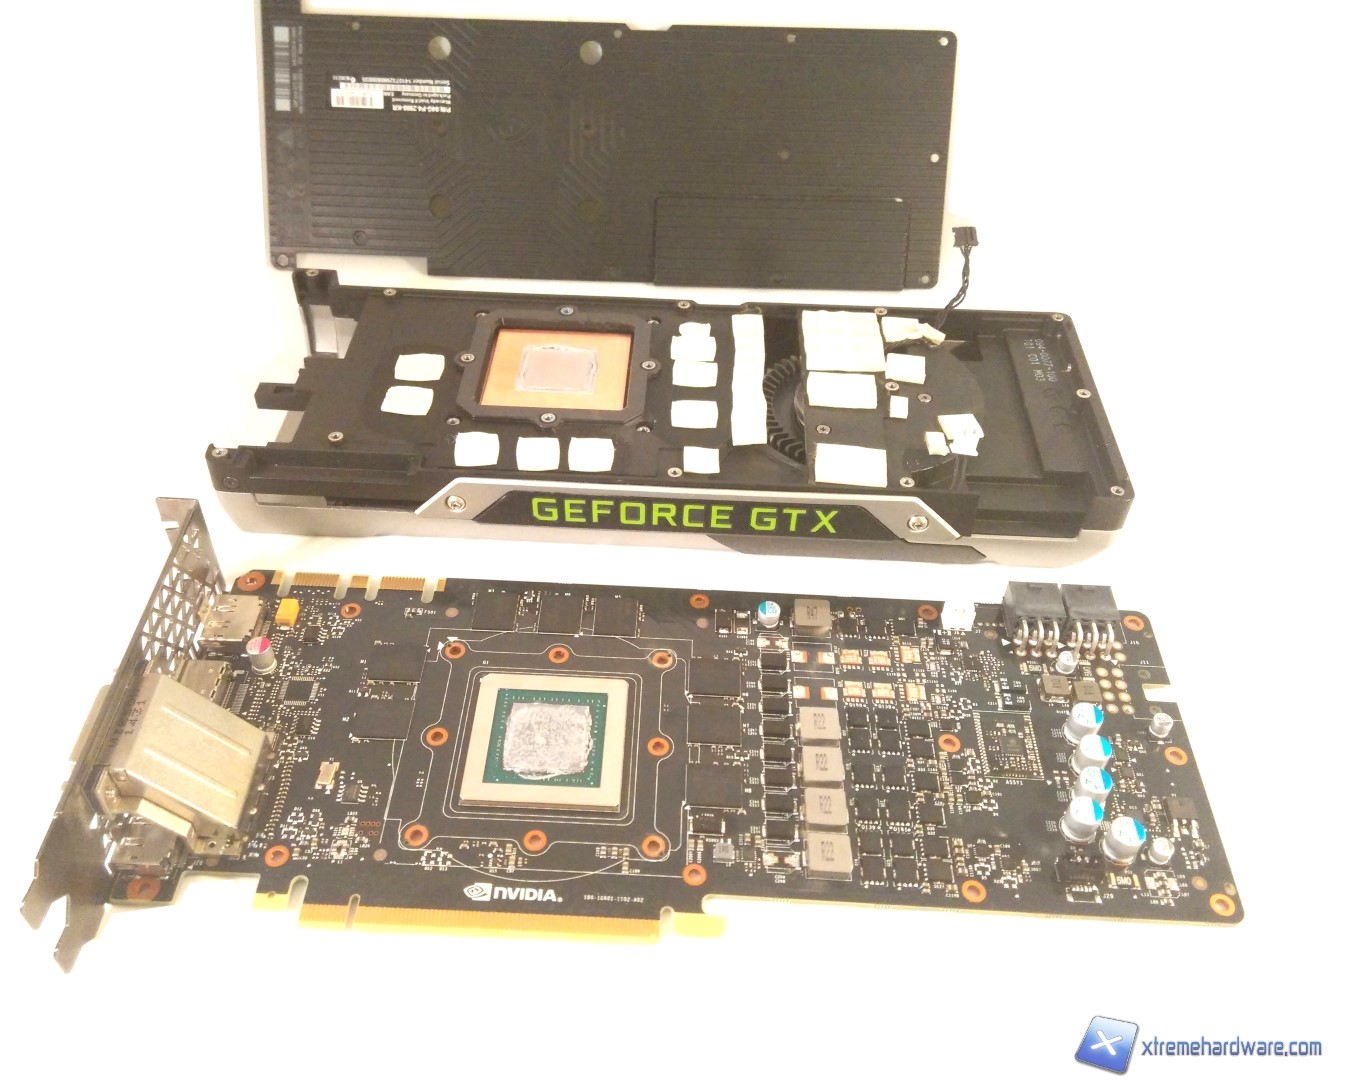
We remove the pre-applied thermal paste and we clean thoroughly the VRAM chips and voltage regulators in order to eliminate any trace of paste.
Once the PCB is ready, we can move on to preparing our video card.
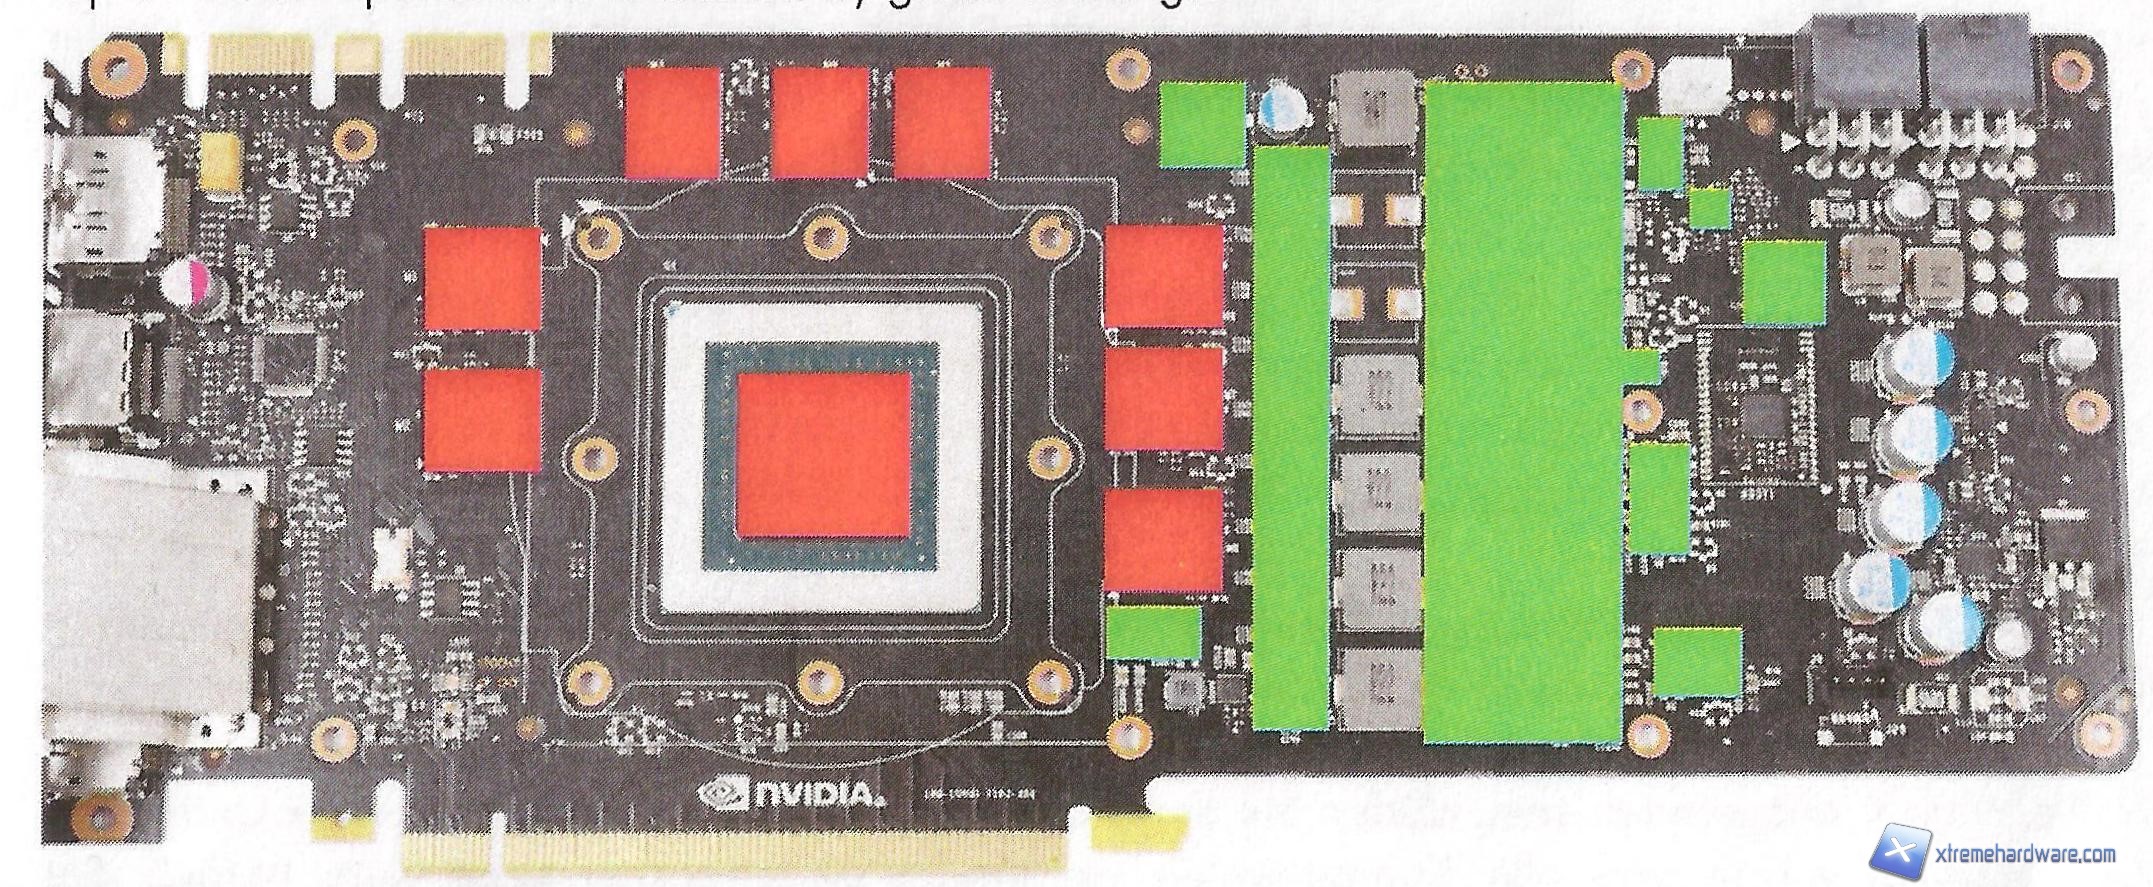
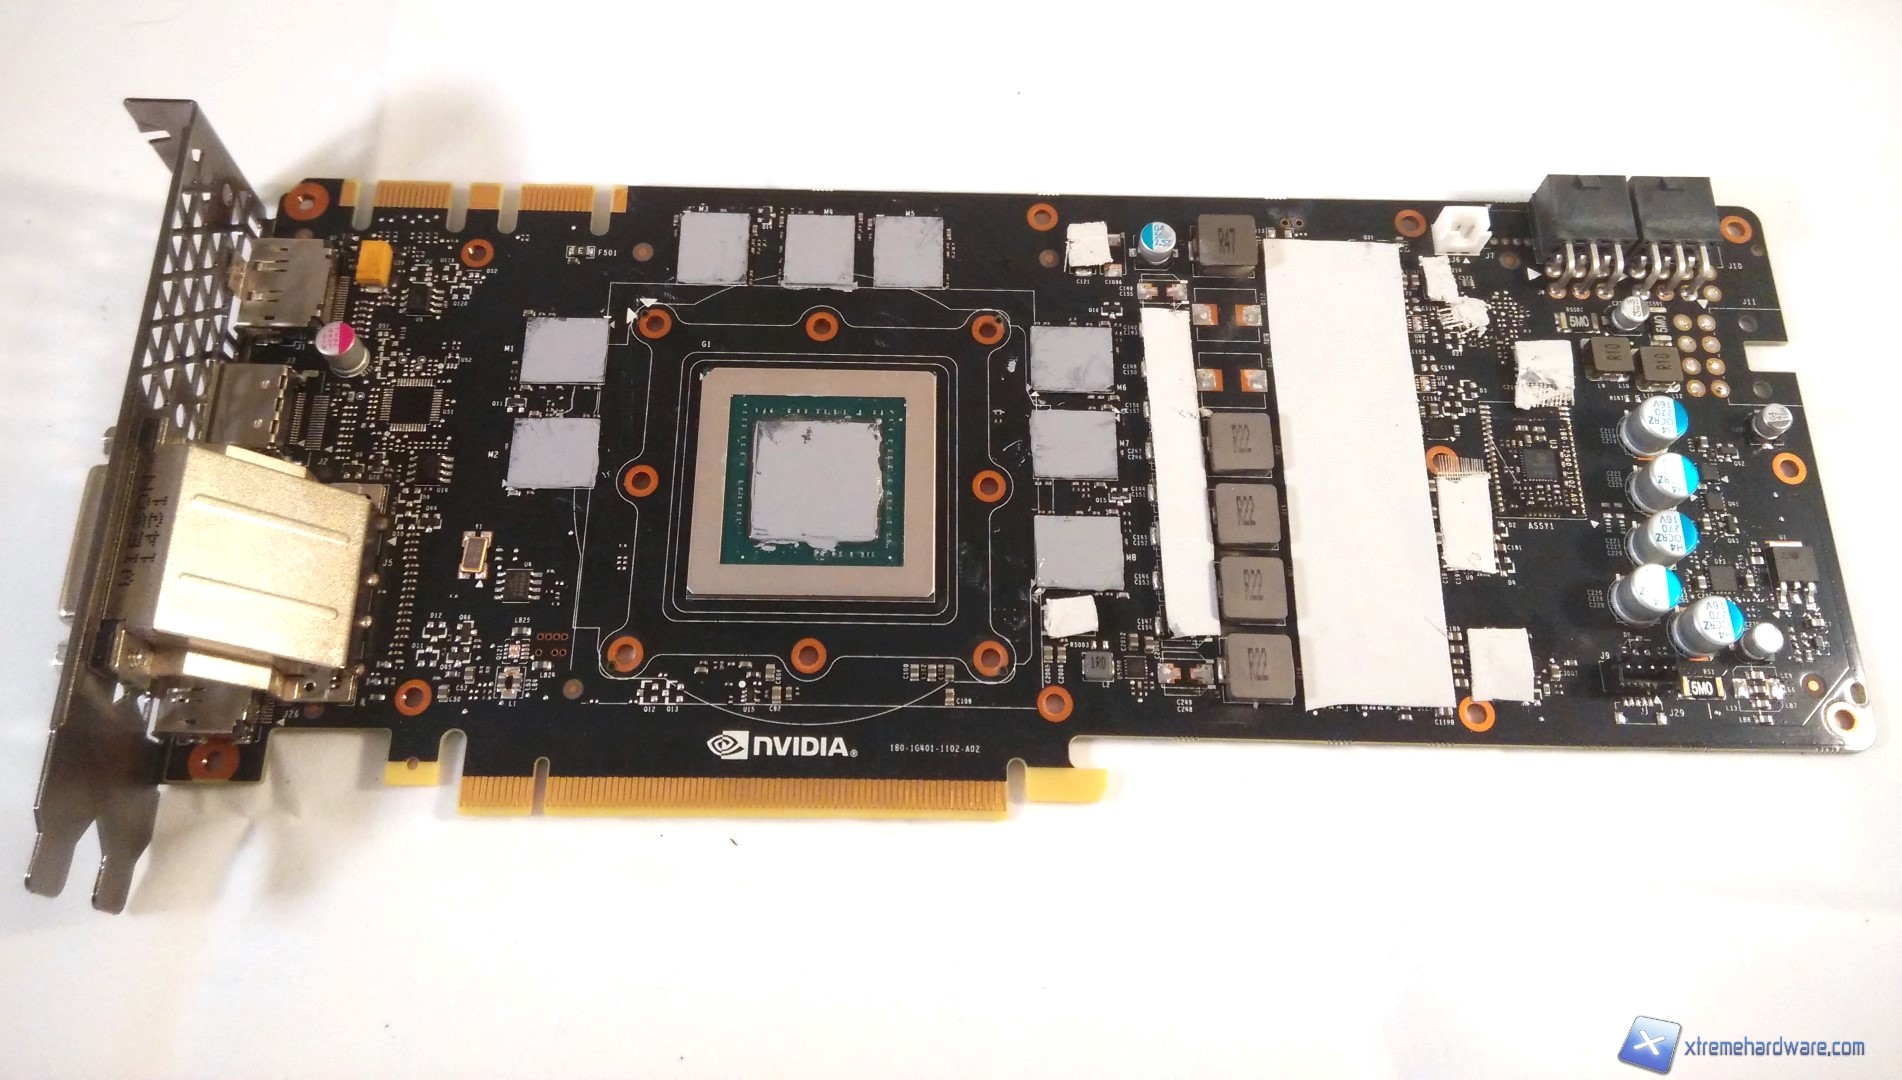
Following the instructions, we will use thermal paste (NOT included in the bundle) spreading a thin layer on the GPU and VRAM chips (marked in red).
We fit the voltage regulators with the thermal pad included in the bundle; then we cut out the thermal pad and we apply it on the areas specified in the manual and marked in green.
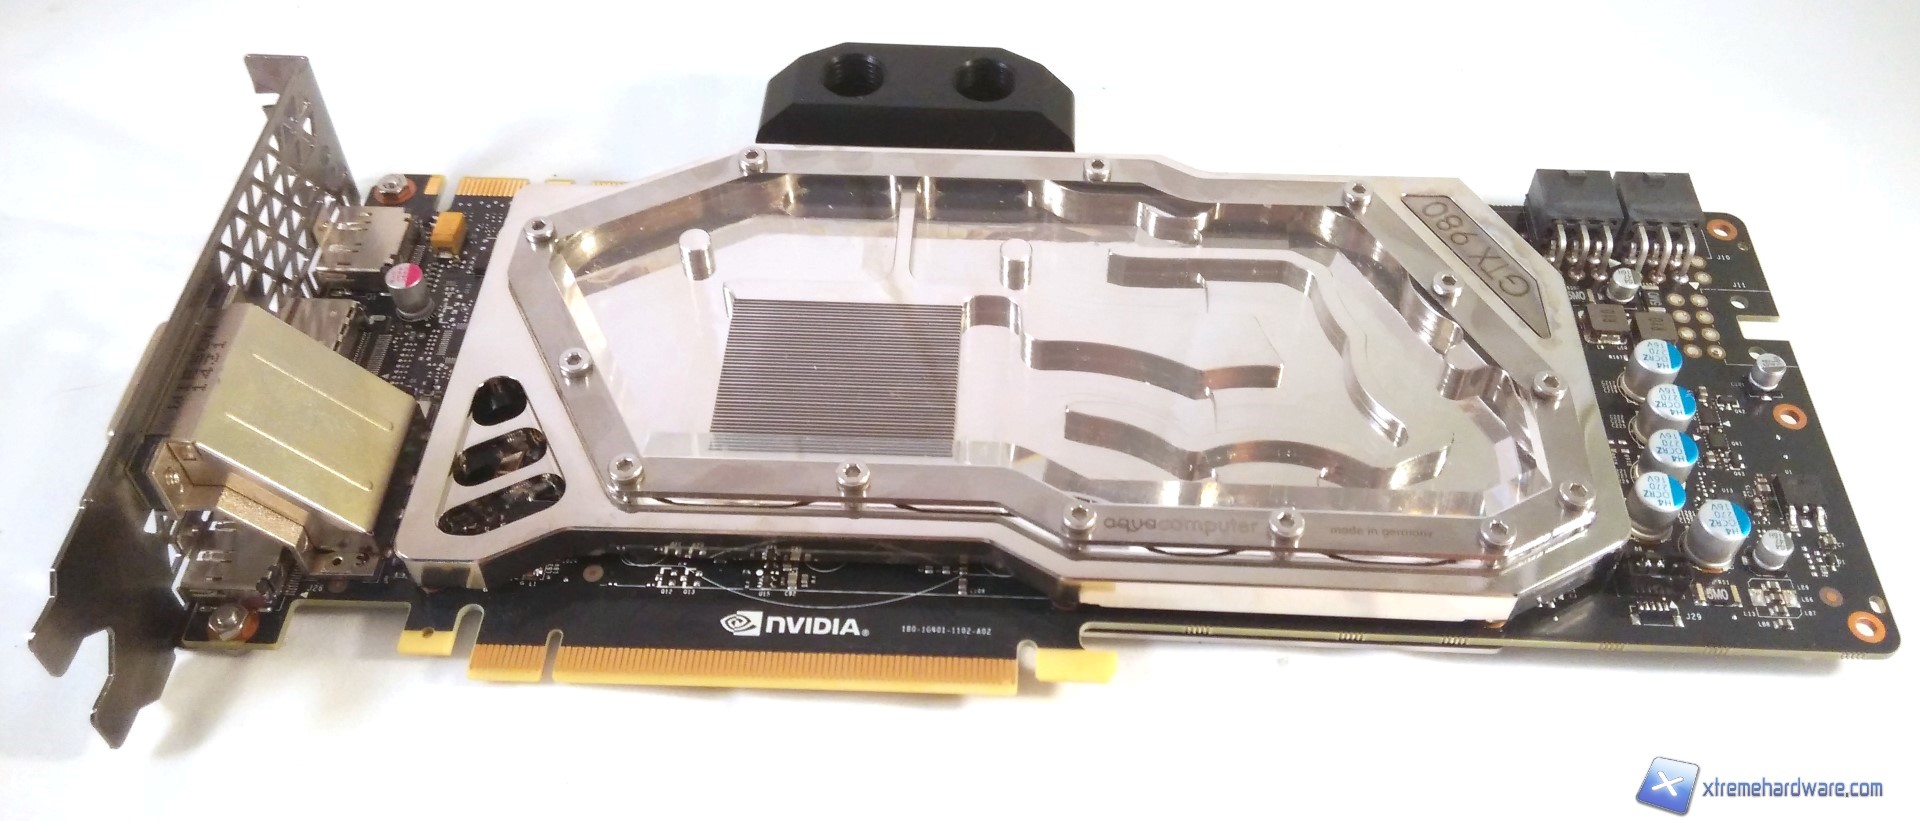
When our reference PCB EVGA GTX 980 is ready, we can start assembling the Aquacomputger Kryographics; we lay it on our card and we start tightening the first 5 M3X4mm screws into the holes identified with red circles on the instruction manual.
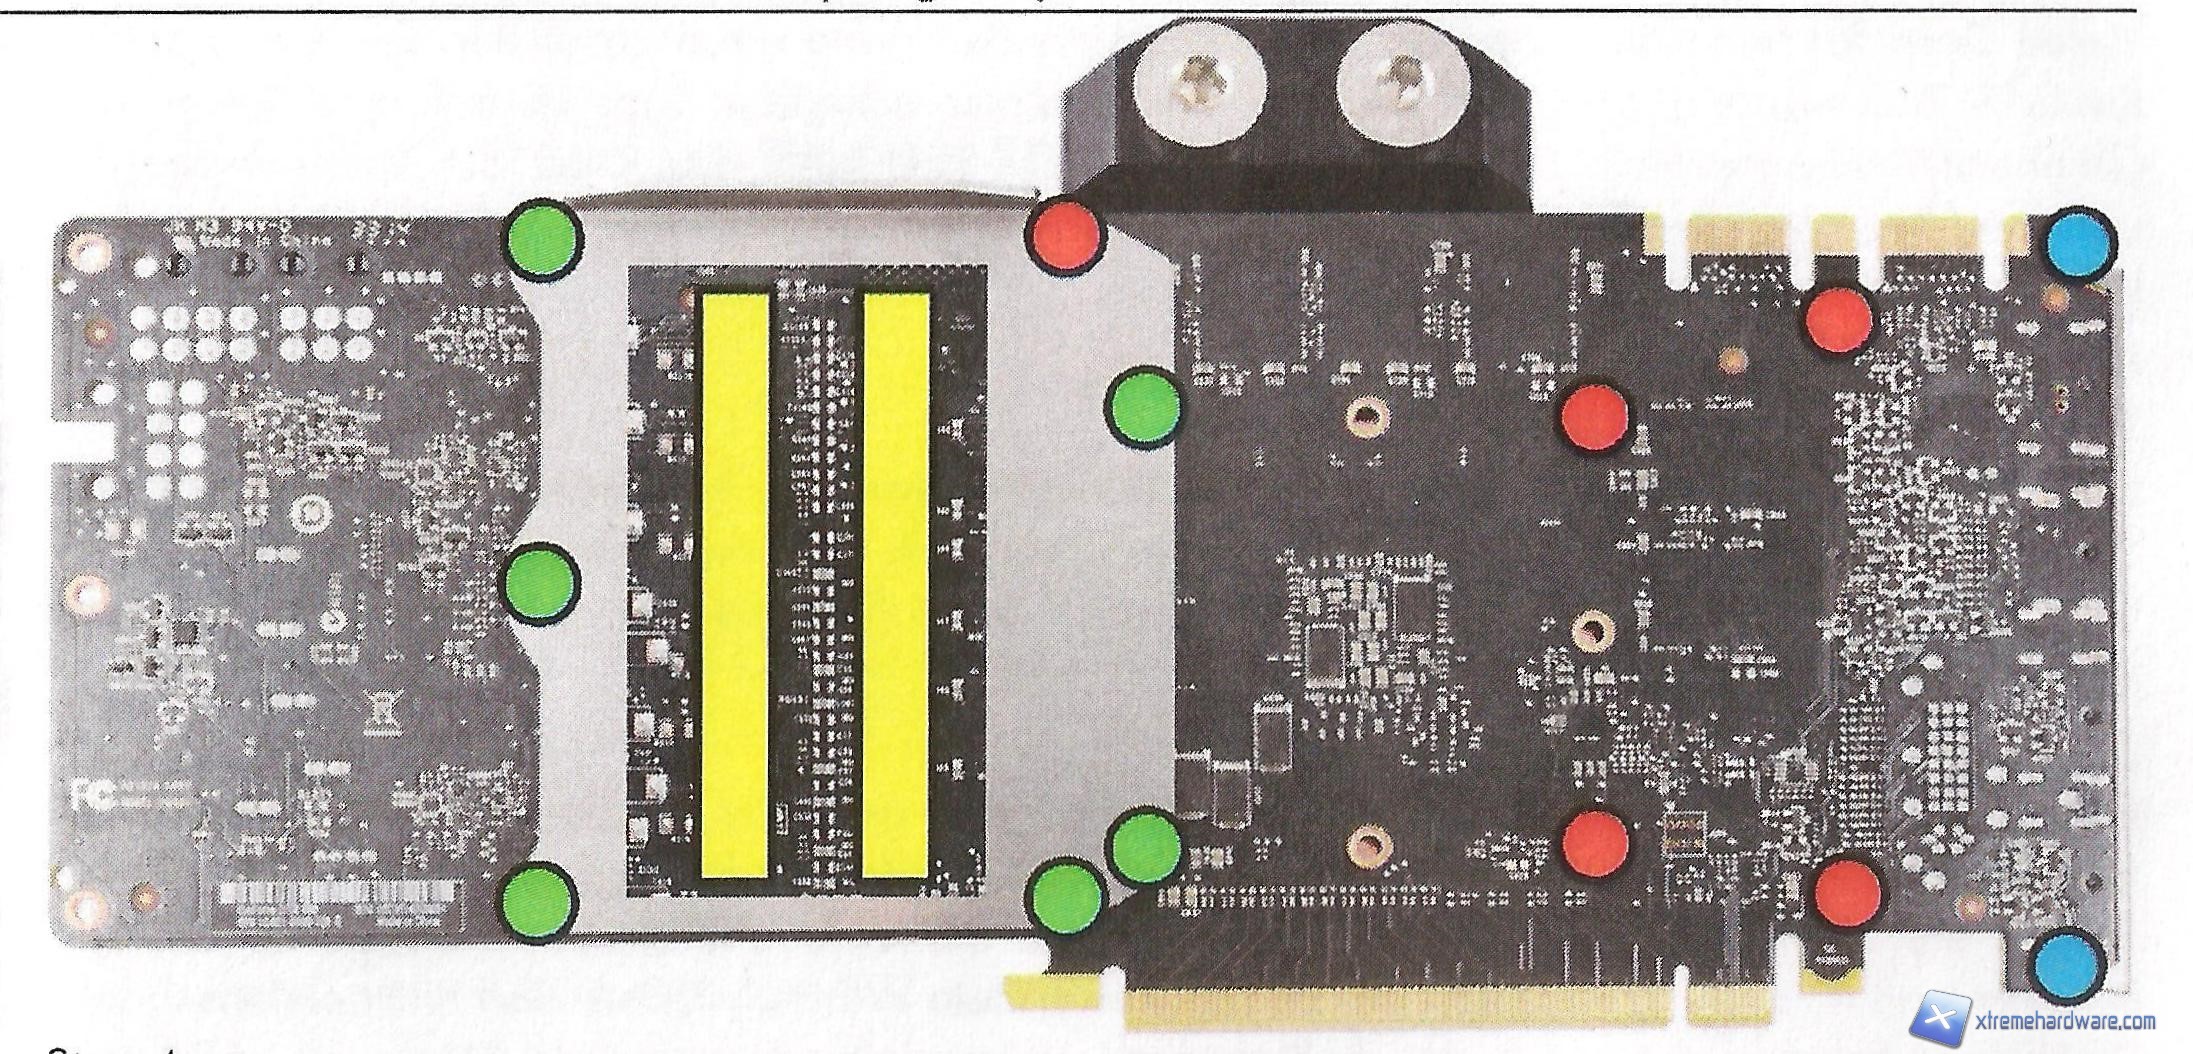
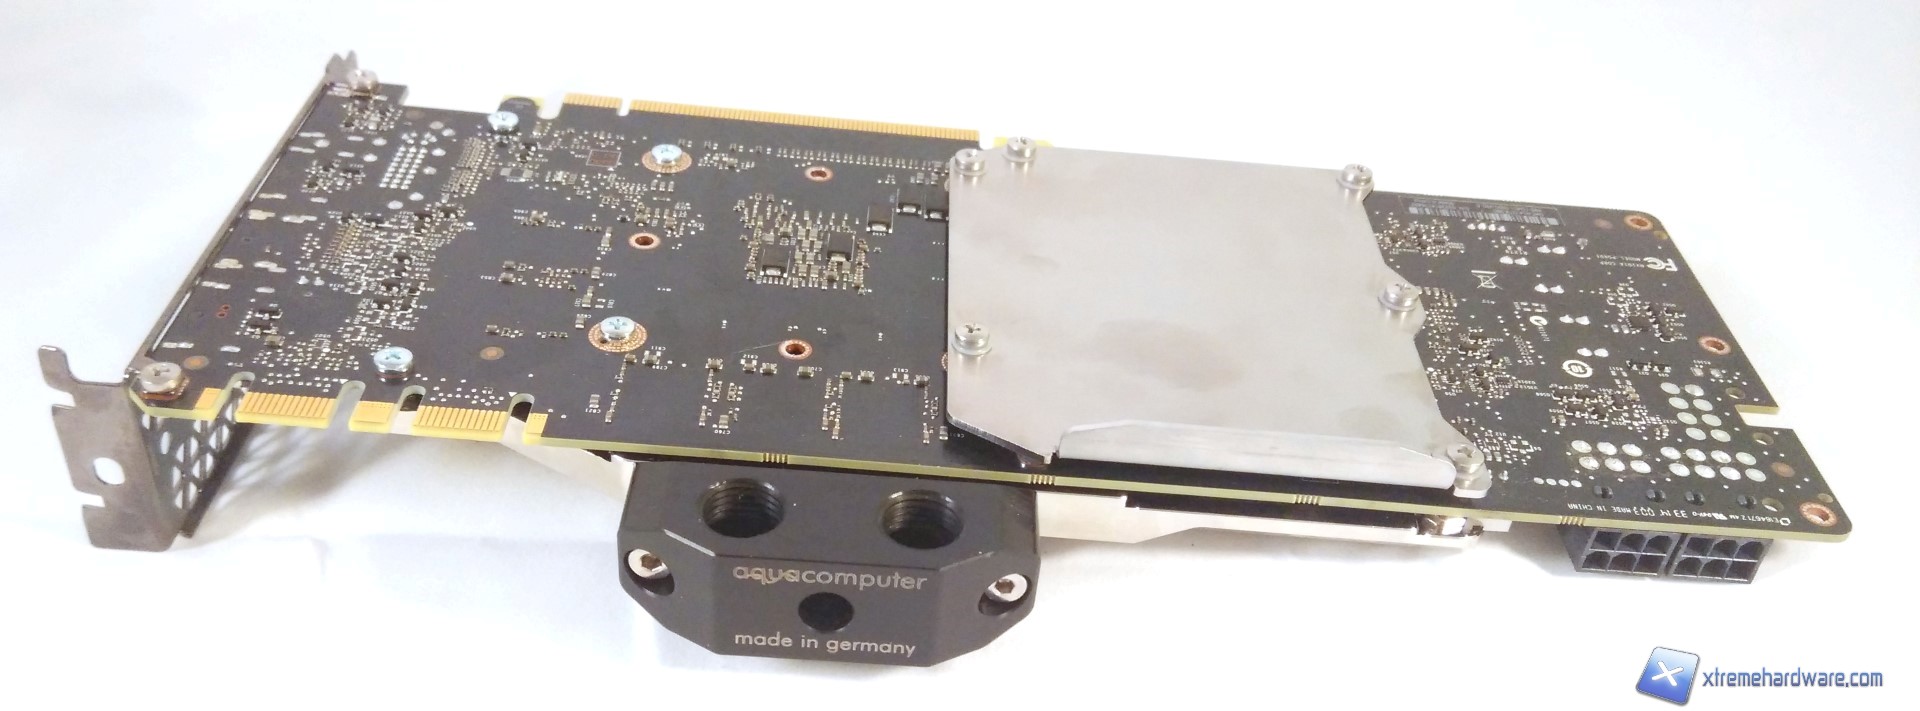
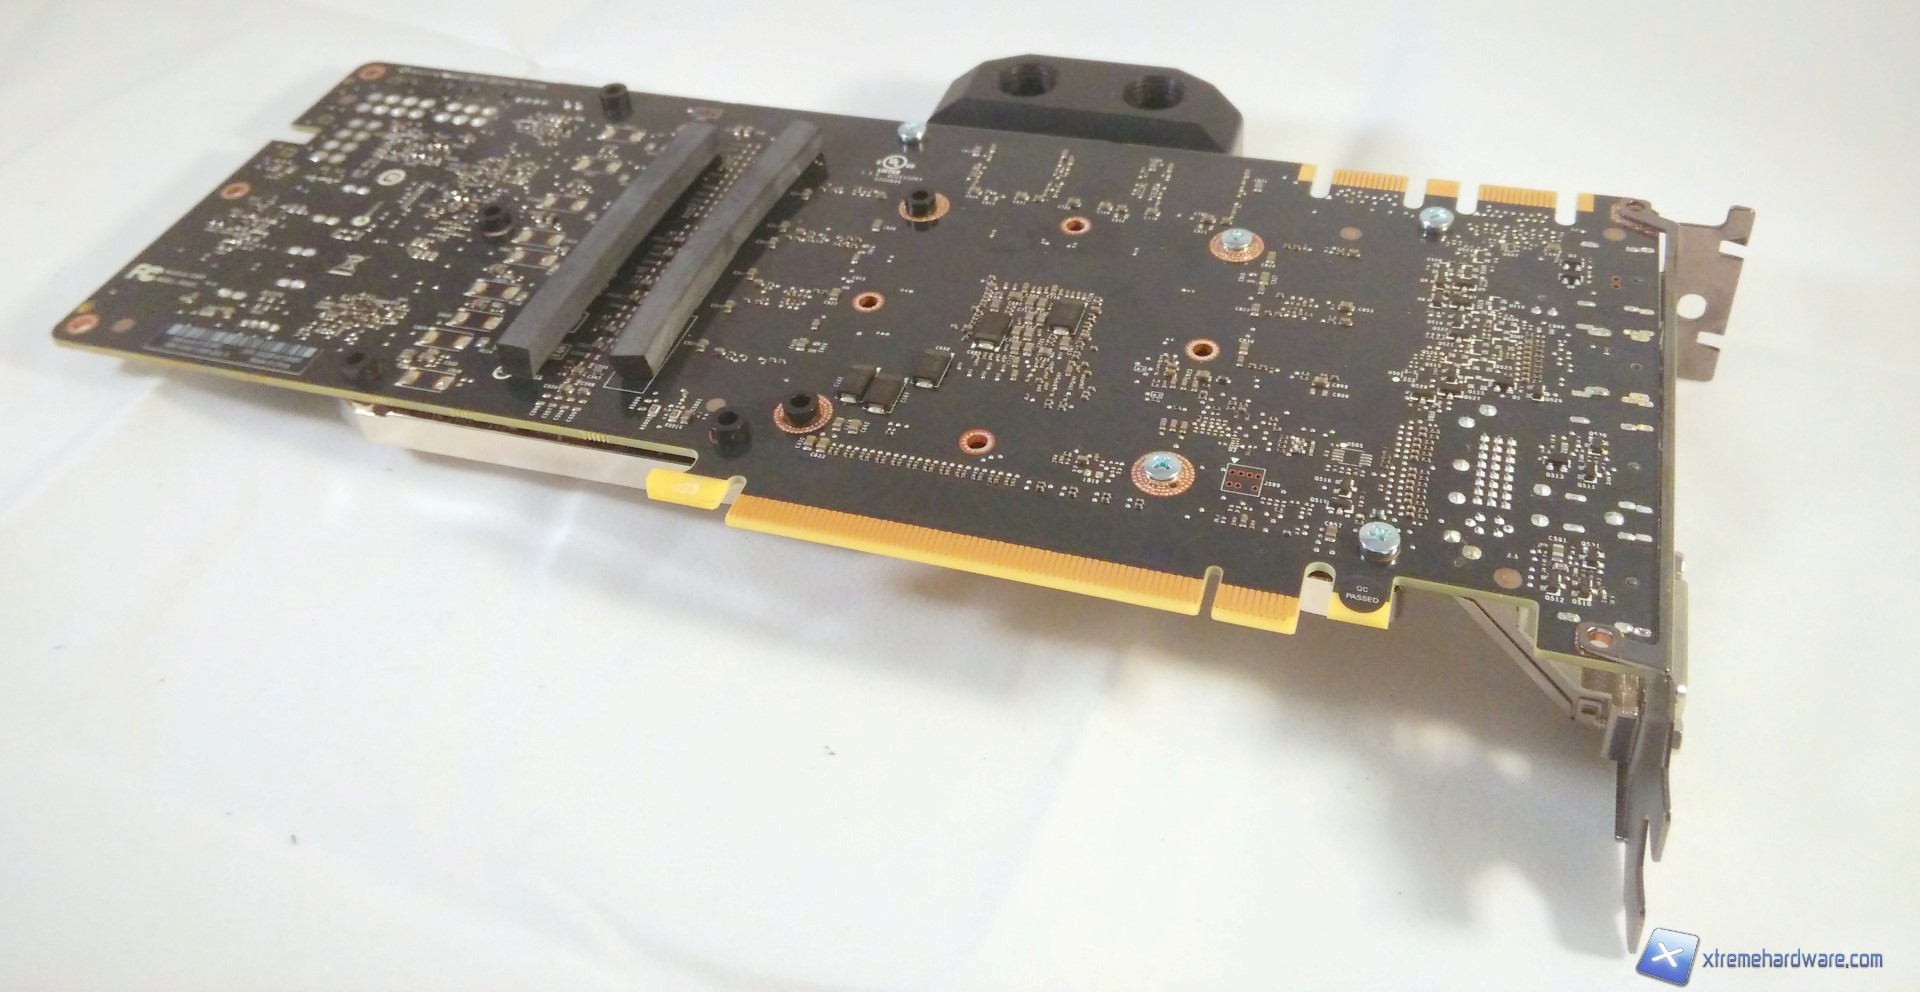
Now, we place the two rubber strips (marked in yellow) to isolate the backplate from the video card PCB to prevent contact.
Then, we place the black spacers included in the bundle following the green indications on the instruction manual.
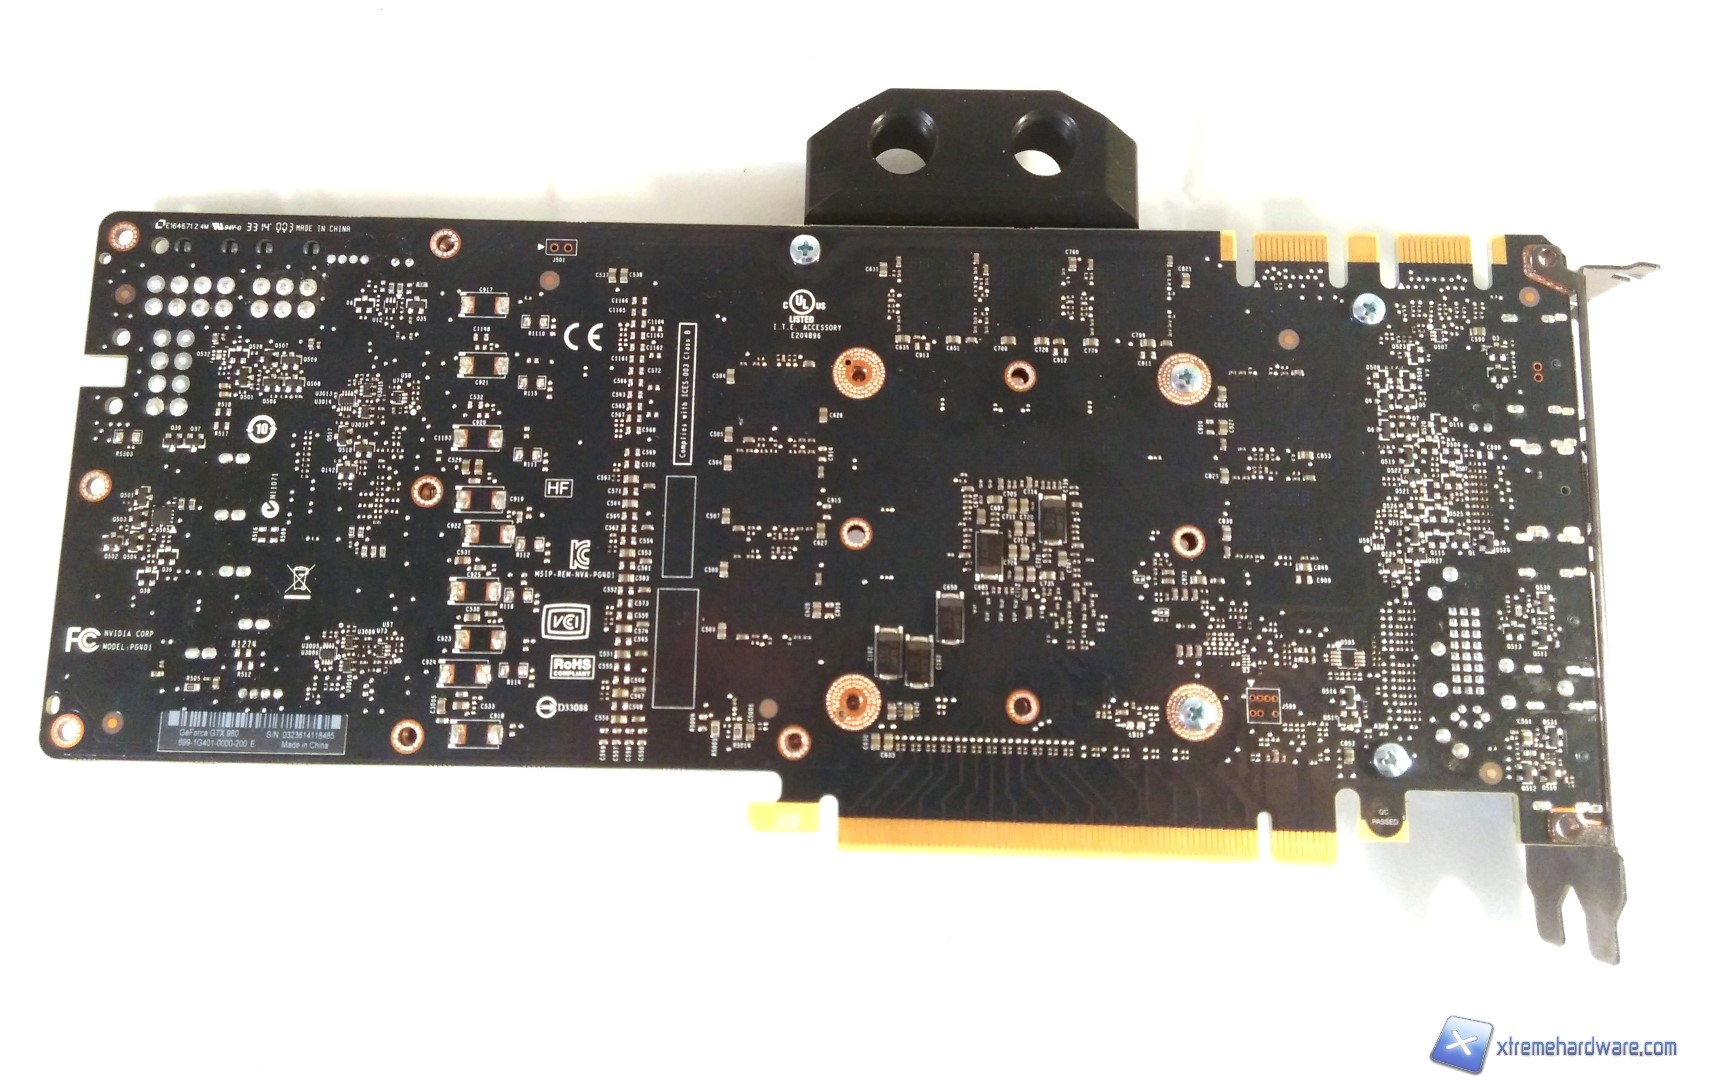
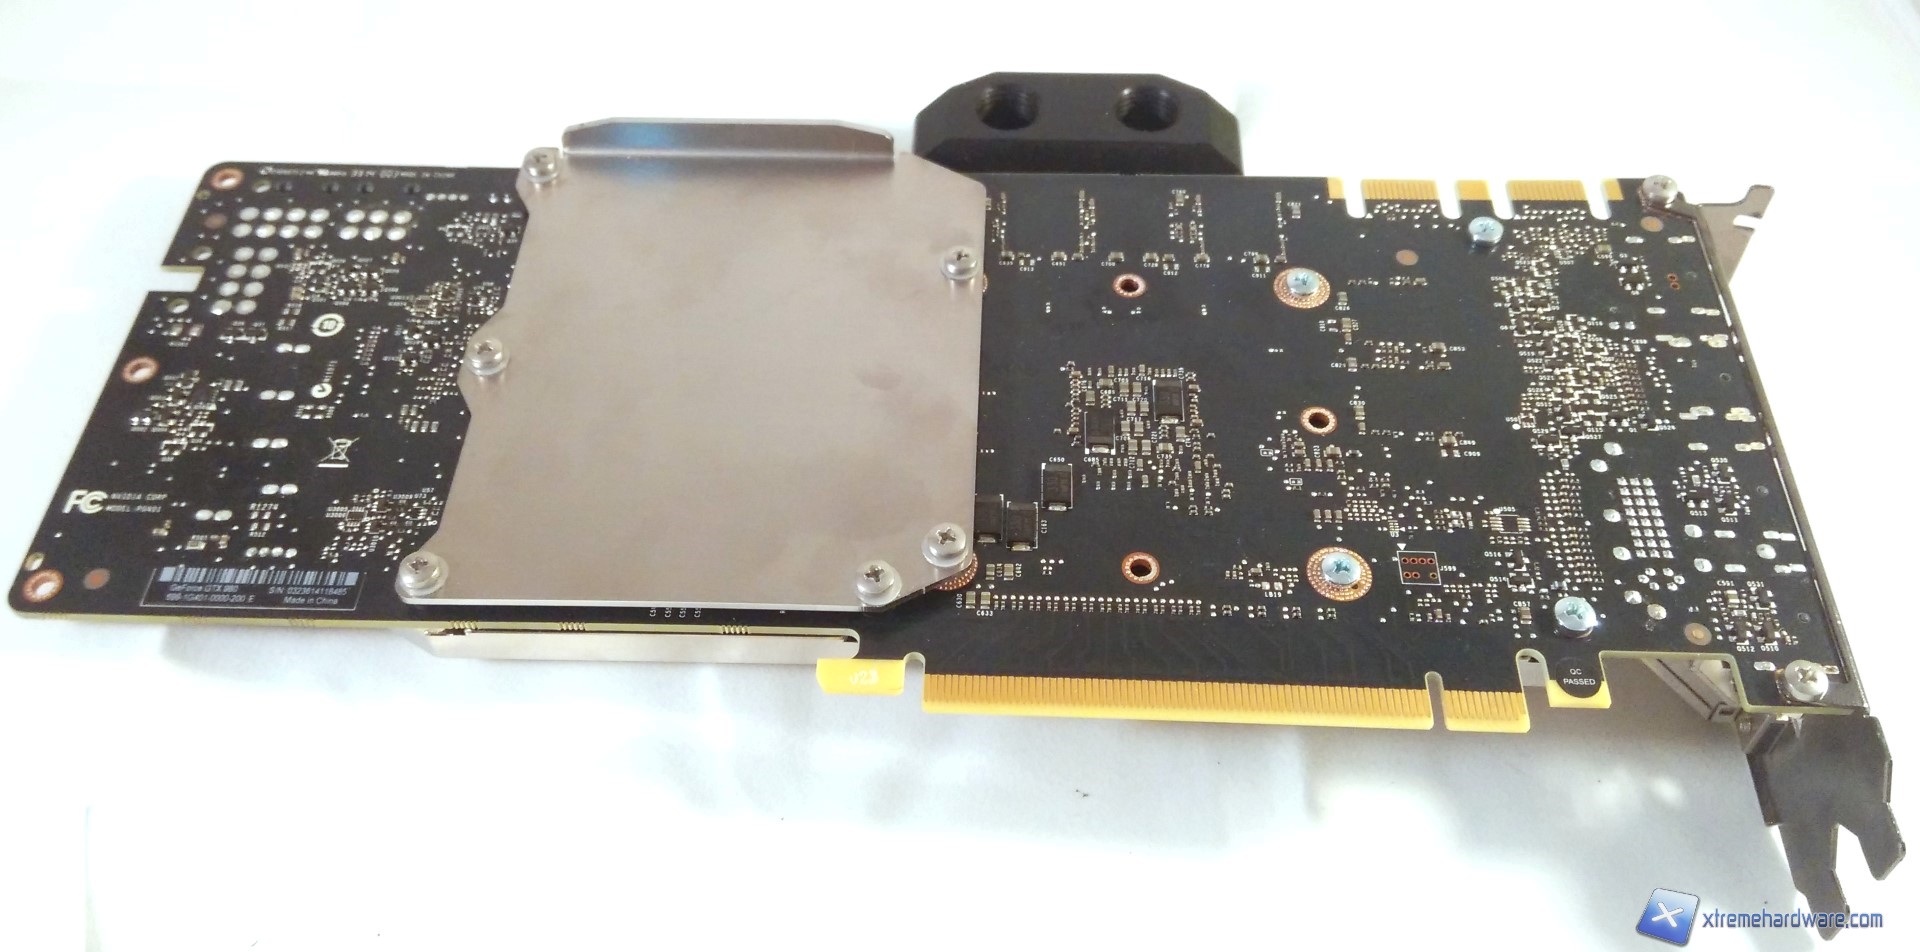
We can now place the backplate, which makes possible to optimize the contact between the waterblock and the VRMs, and we secure it with the six M3X10mm screws, after putting a plastic washer between the backplate and each screw.
Finally we complete the assembly by securing the fullcover to the PCI panel and to the output connections with the two M3x6mm screws and the two bolts in the places identified in blue.
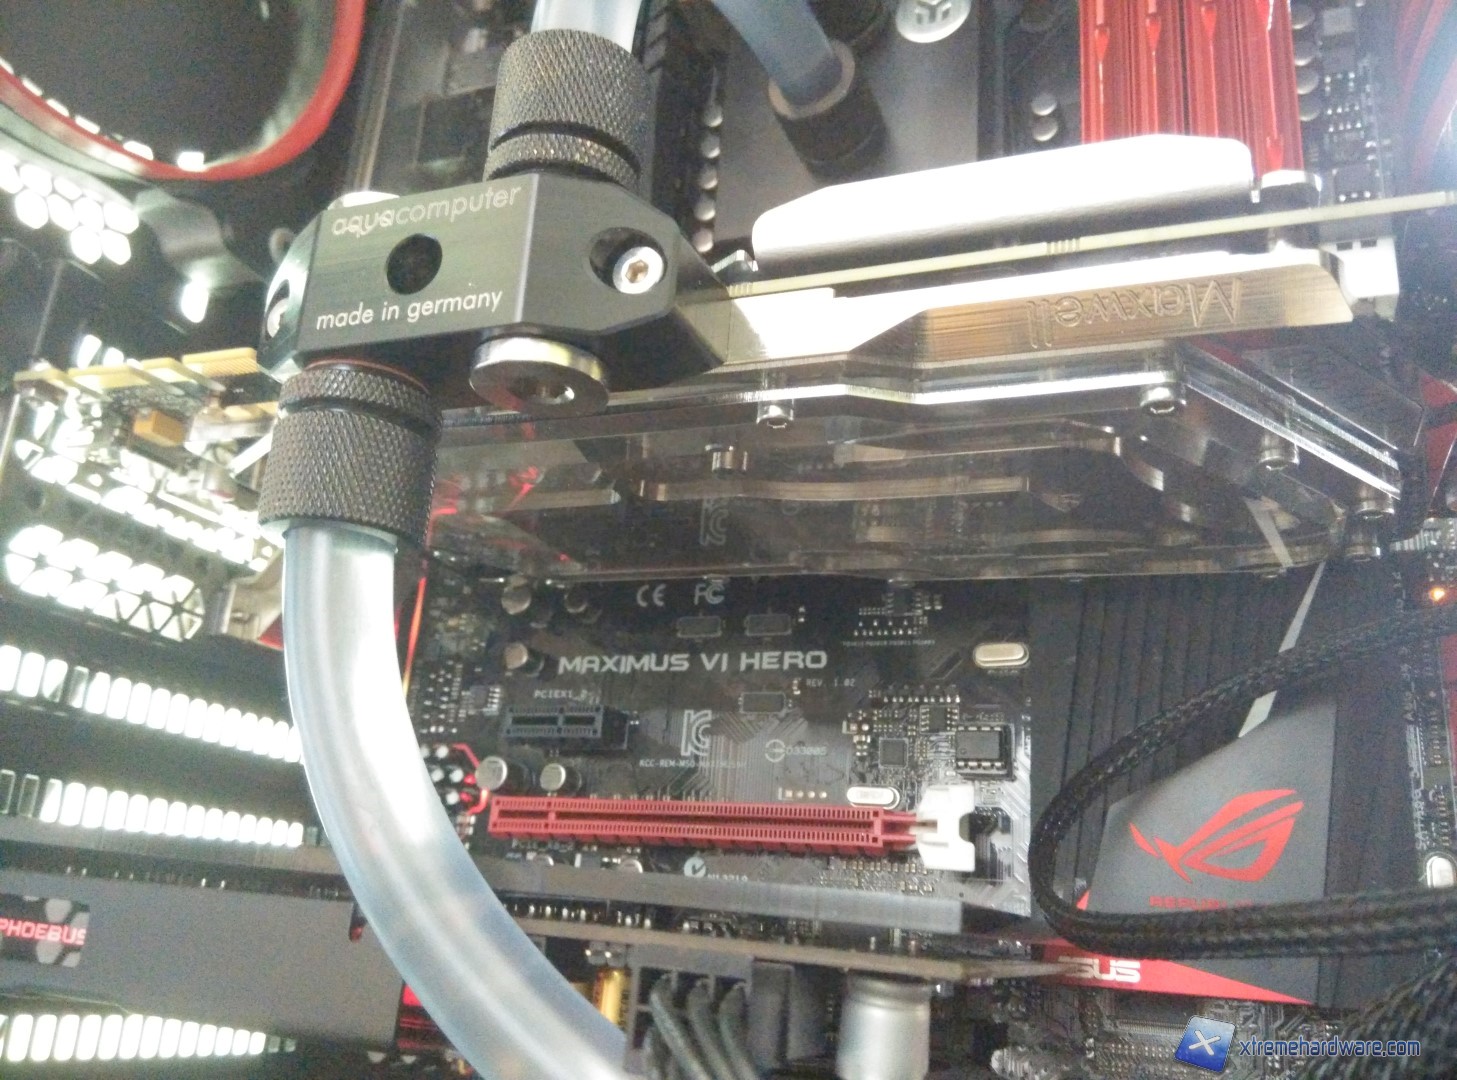
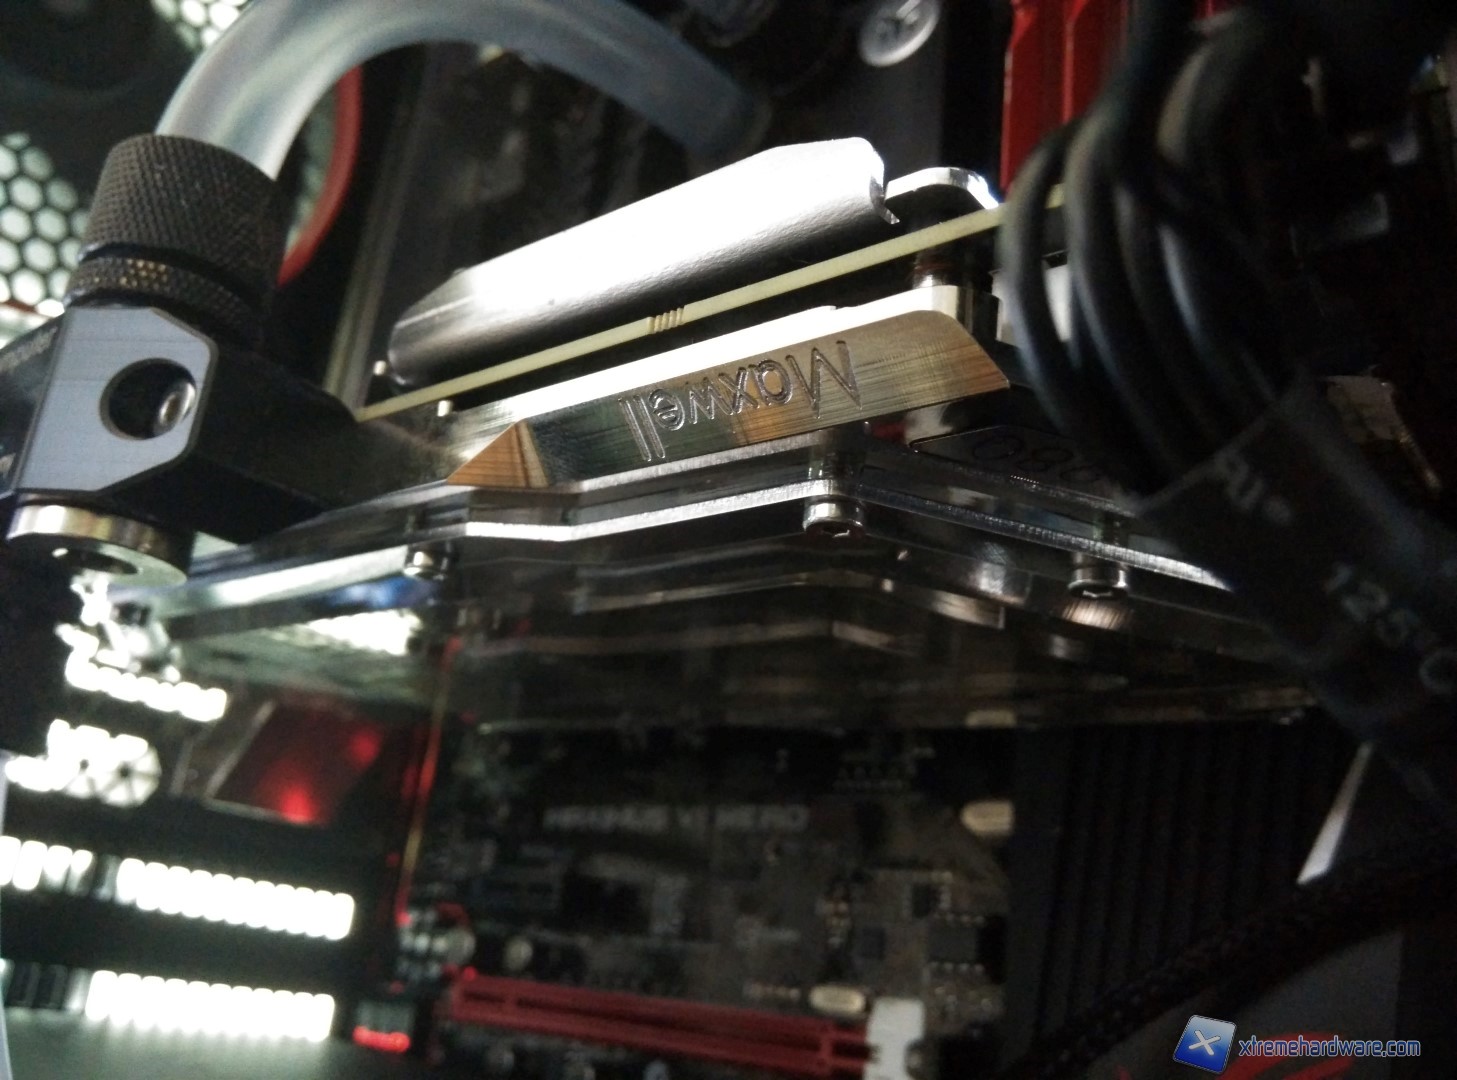
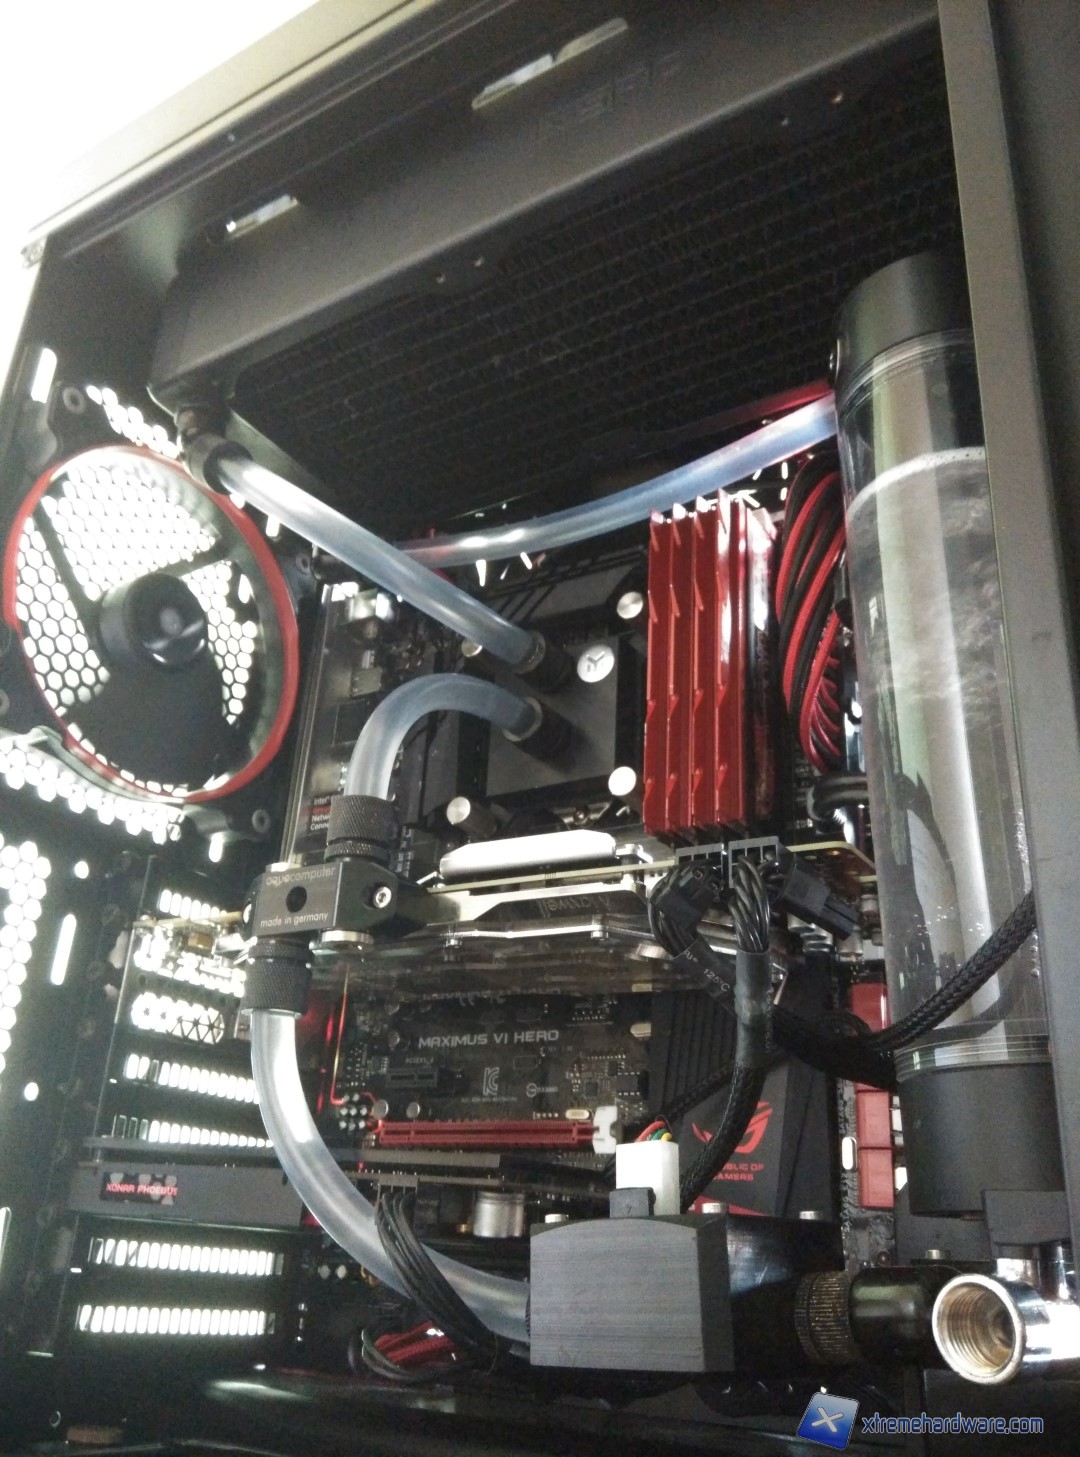
And here we are! The Aquacomputer Kryophapichs GTX 980 Acrylic Glass Edition is perfectly mounted on our EVGA GTX 980, which is now ready to be inserted into the test loop