 MSI 990FXA-GD65 is proposed as high-end motherboard for AMD AM3+ CPU, so compatible with the upcoming AMD Bulldozer. Powered by the AMD 990FX chipset, it has nice features, that we will discuss during this review.
Pubblicità
BIOS
The BIOS is a classic AMI as you can find on many motherboards. It's very complete, as expected for a card of this caliber, voted to overclocking, has tabbed browsing (namely 8) on the many sections/menu including one dedicated to overclocking. Let's look them together.
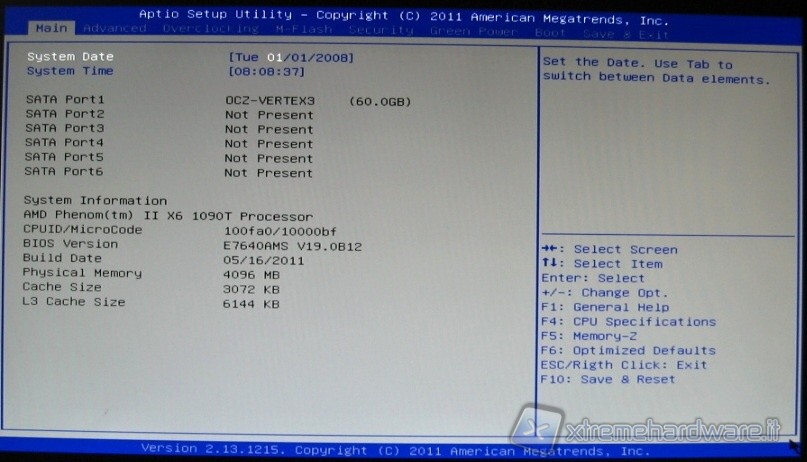
Pressing the Delete key (DEL) repeatedly on the keyboard of your PC at startup we enter the BIOS. We anticipate that being the card without any type of display for the diagnostics, before entering the BIOS on the screen at the bottom right it shows a sequence of codes where everyone has a very specific and well known meaning for the overclocker/assistance. In addition to the date and time, where you can take steps to correct it, we see below a short information on CPU type and amount of memory installed in the system.
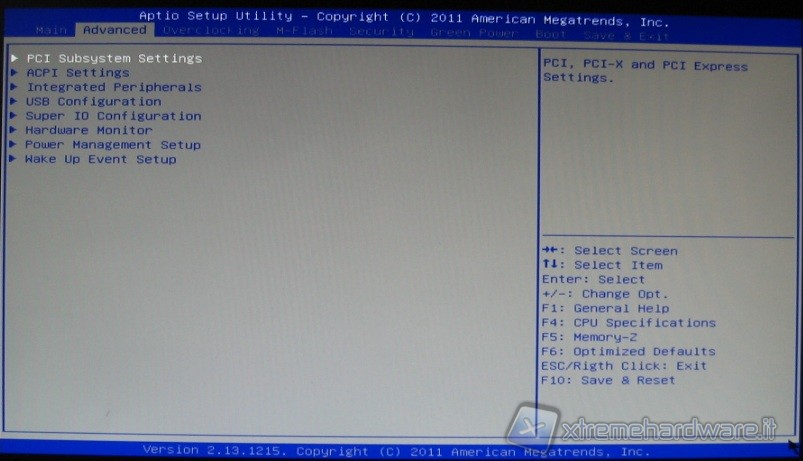
In this Advanced tab we have the classic sub-menus:

- latency of the PCI bus
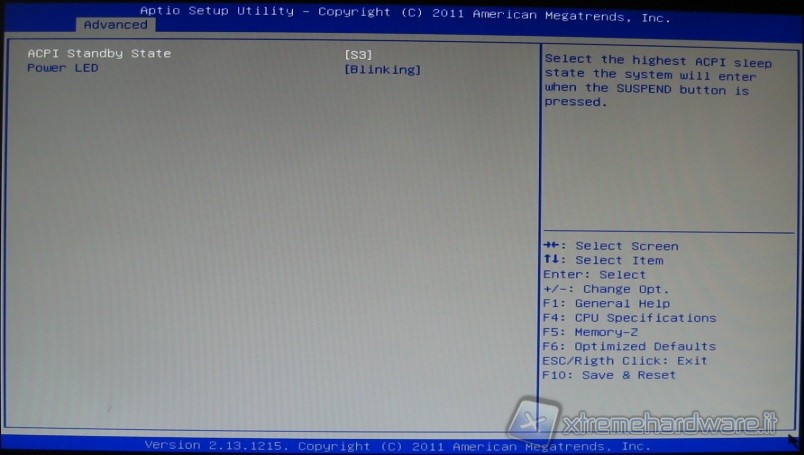
- ACPI Settings (Advanced Configuration and Power Interface) where you set the state
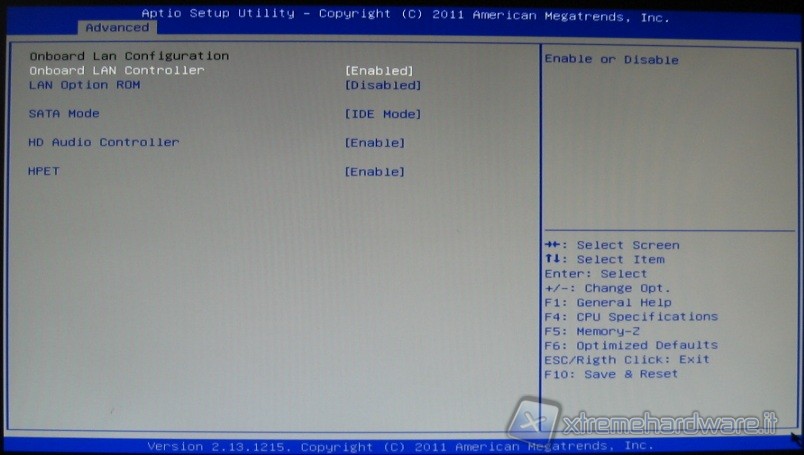
- Integrated Peripheral section, dedicated to network devices, Discs and Audio.
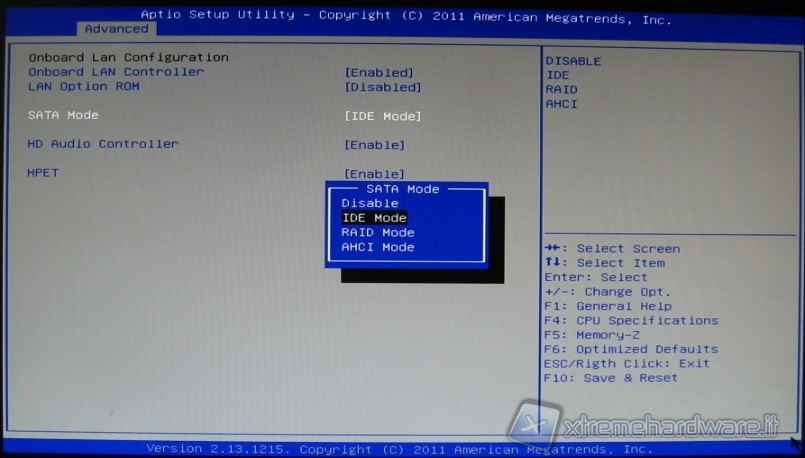
- mode setting of the SATA controller, IDE, RAID (if there is more of a drive) or AHCI.
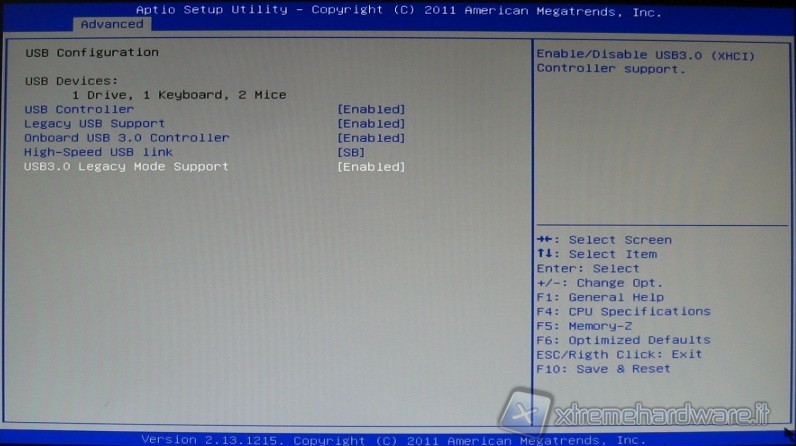
- USB Configuration Section where you set the speed of the USB ports and you can choose if activate the blue ports with USB 3.0 standard.

- submenu Hardware Monitor were is the detailed report of the temperature and fan speed connected to the system. On the latter point intervenes the Smart Fan system, where you set the fans speed as a percentage.
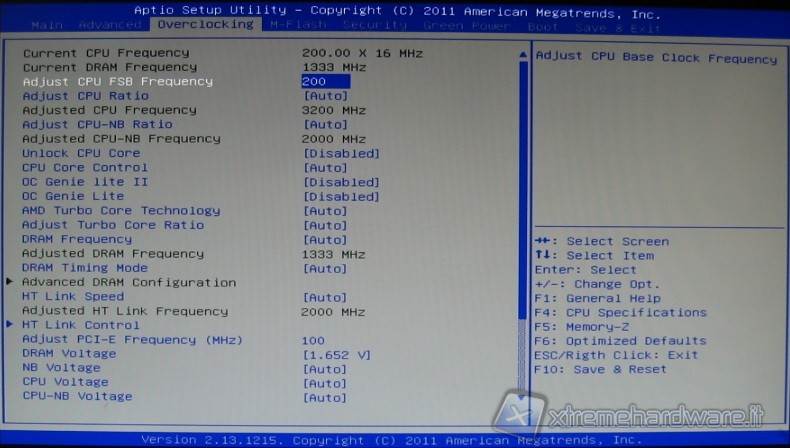
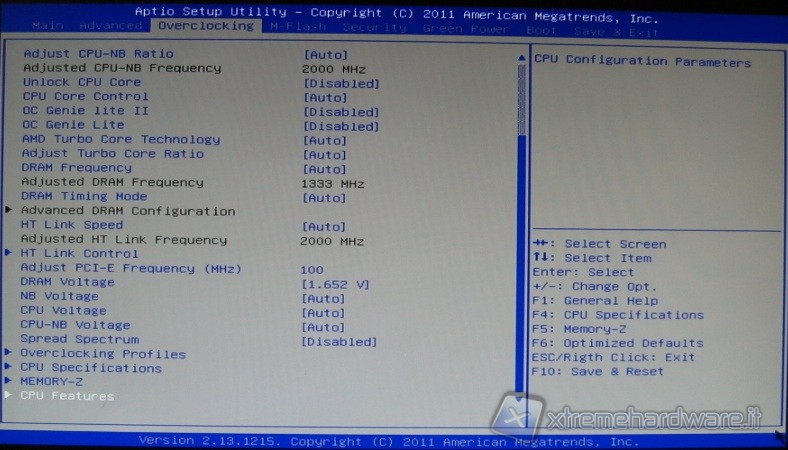
After leaving the Advanced menu we enter Overclocking menu, certainly richer for the needs of all those who engage in such practice.

We can intervene in descending order on the CPU multiplier
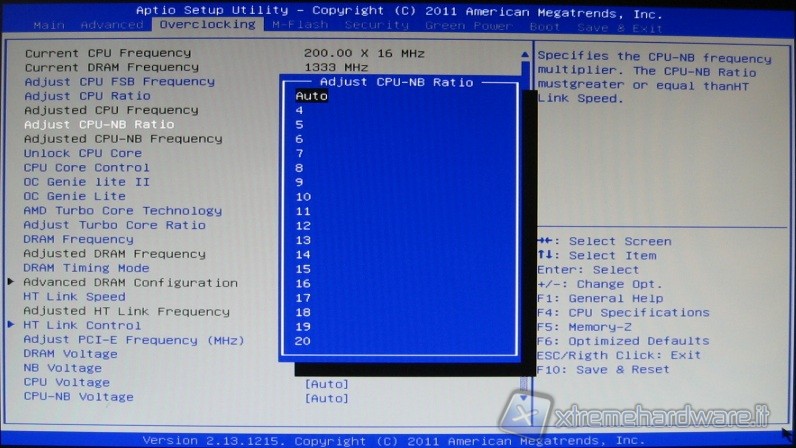
then passing to the ratio between the CPU and Northbridge.
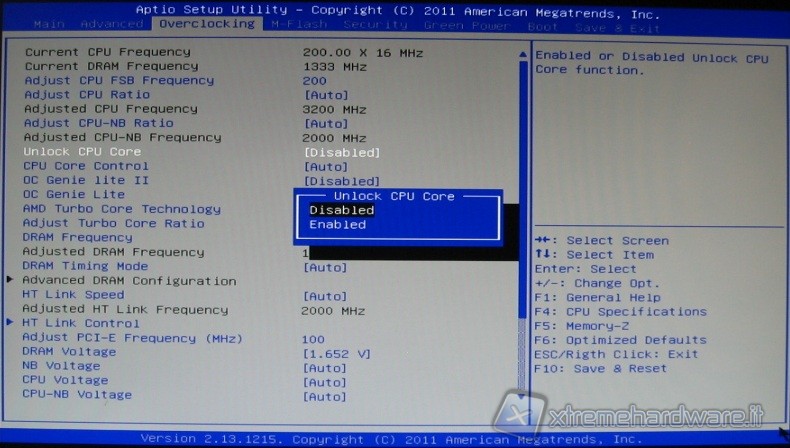
Here is an interesting item that unlocks, if enabled, locked cores on some CPUs.
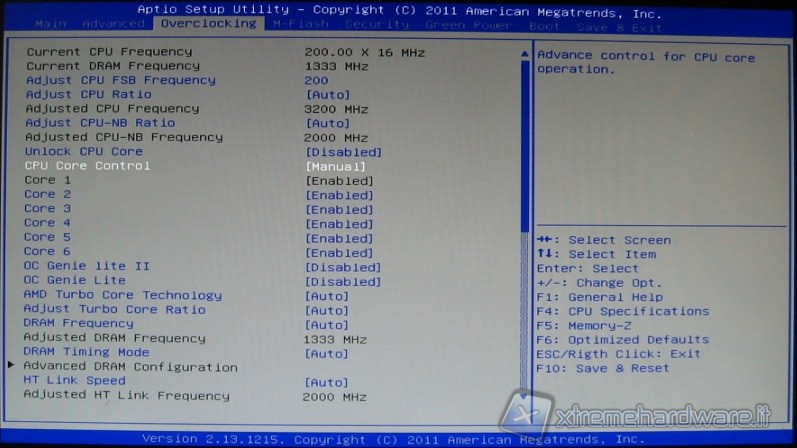
As you can see the motherboard is equipped with all the settings and can disable individual processor cores
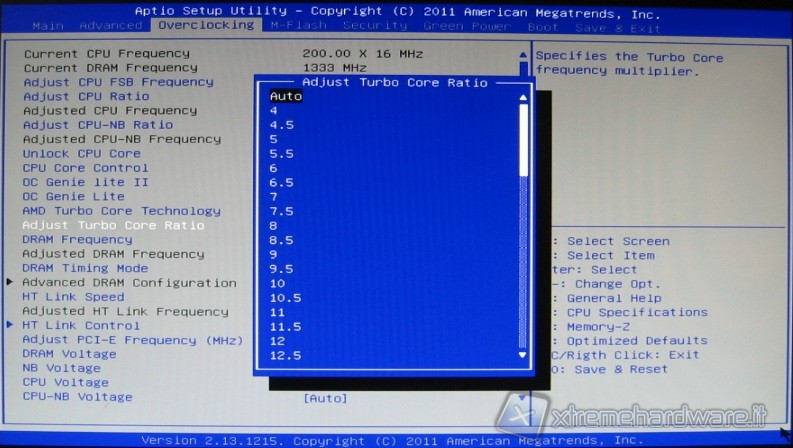
or you can set the Turbo multiplier
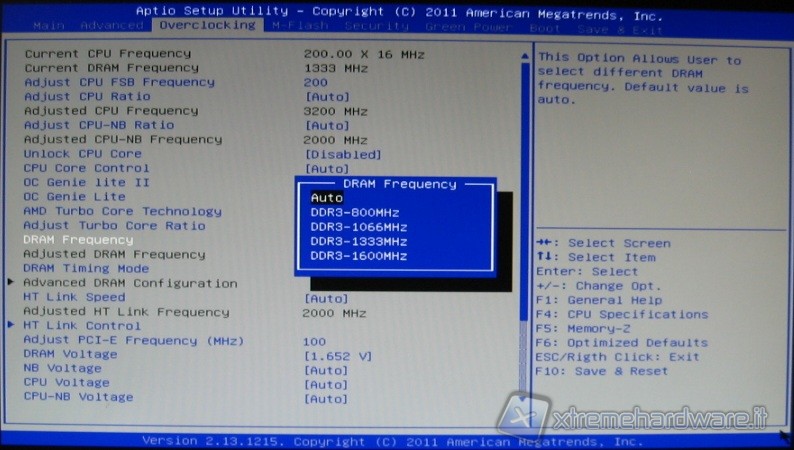
Here we can intervene on the memory preset frequency
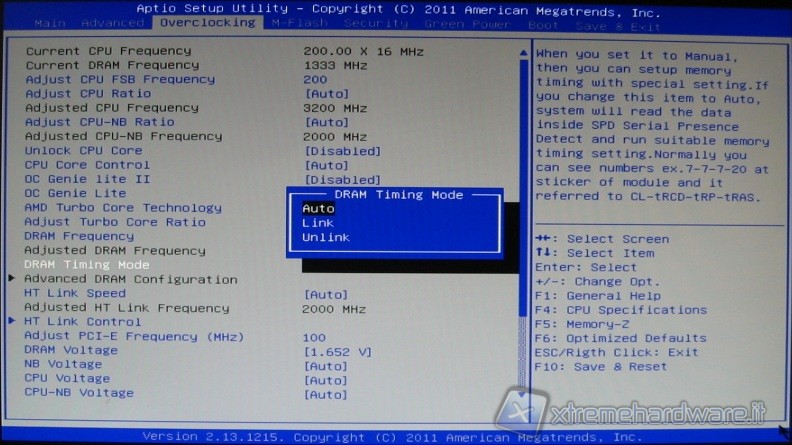
or on the timing mode
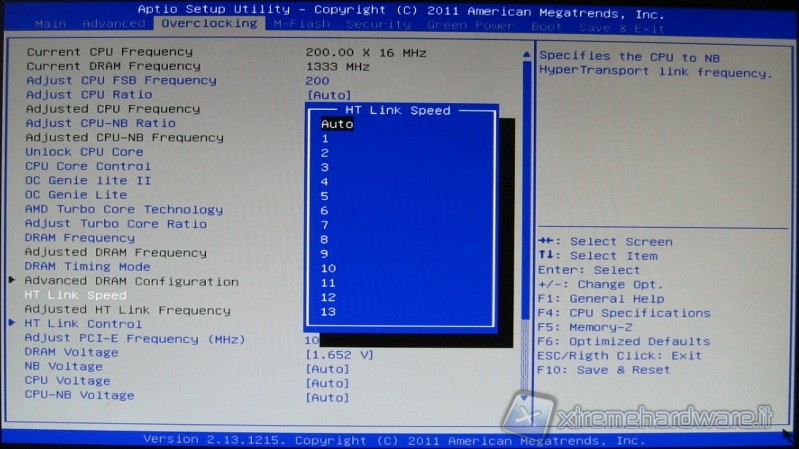
and the multiplication ratio of the Hyper Transport bus.
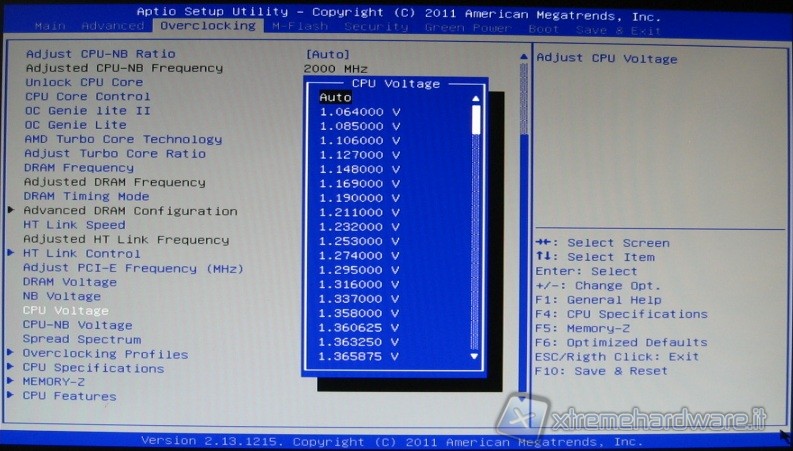
This instead is dedicated to setting the voltage of the CPU. As you can see the progresses are in the order of millivolts.
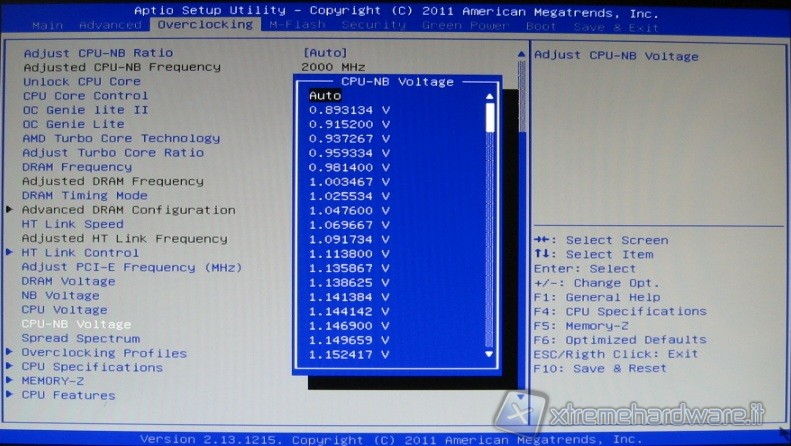
Same goes for the CPU-NB section

Instead on this entry we can save overclocking profiles for recall when needed.
Instead entering the CPU Feature submenu
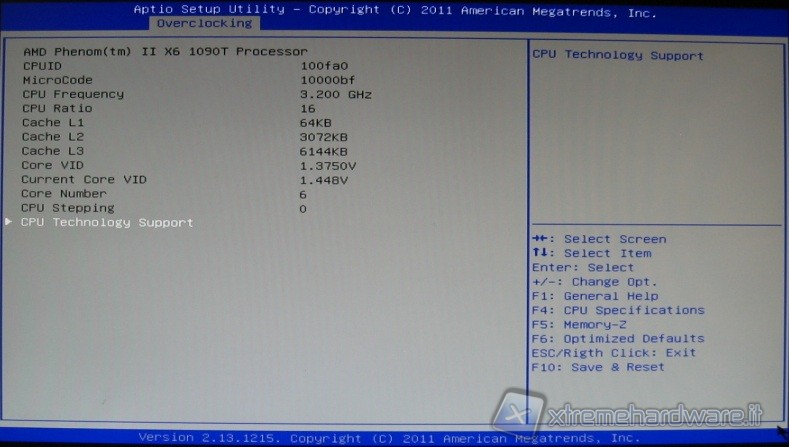
you can see the specifications of the installed processor,
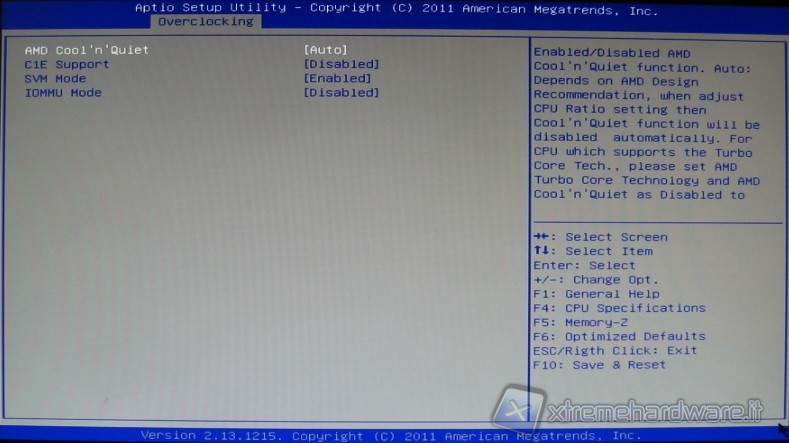
or you can intervene on energy-saving technologies.
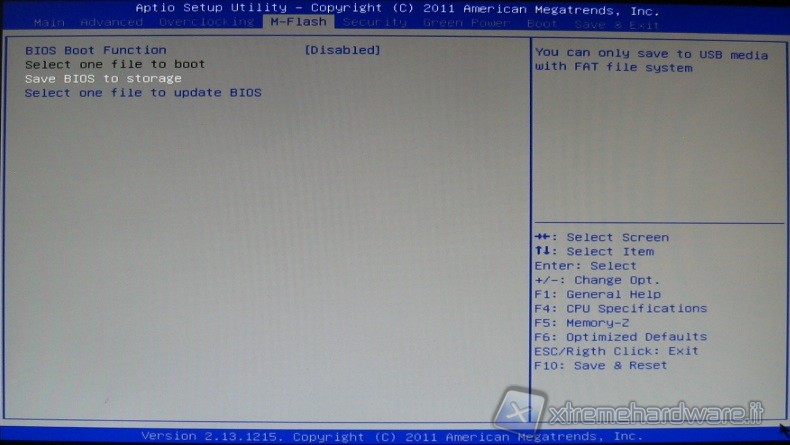
The following section instead is the M-Flash, where we can make a backup on disk (or USB drive) to use as a second BIOS, which is useful when you want to try new settings or make a backup.
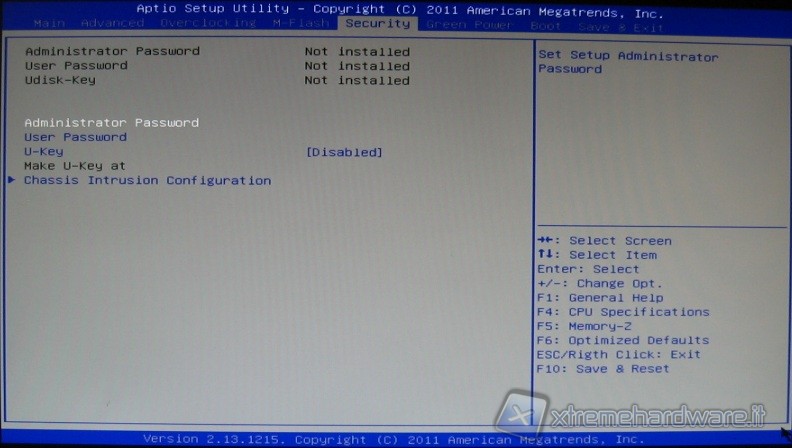
In the Security section you can set the password both to access the BIOS or boot the system,
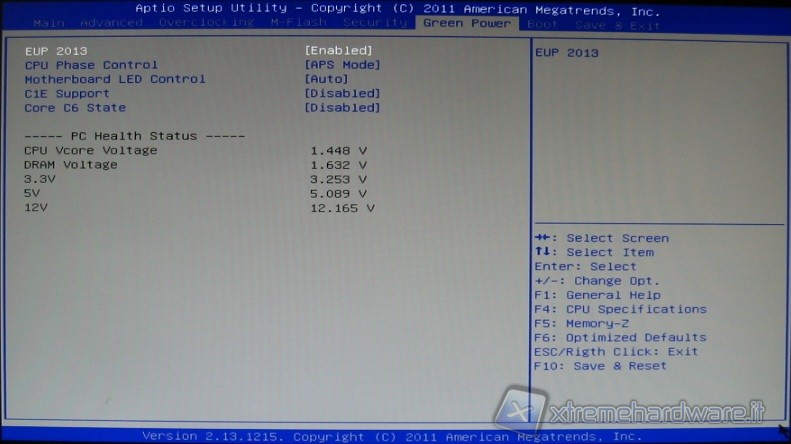
while in Green Power you can set the advanced energy saving technology.
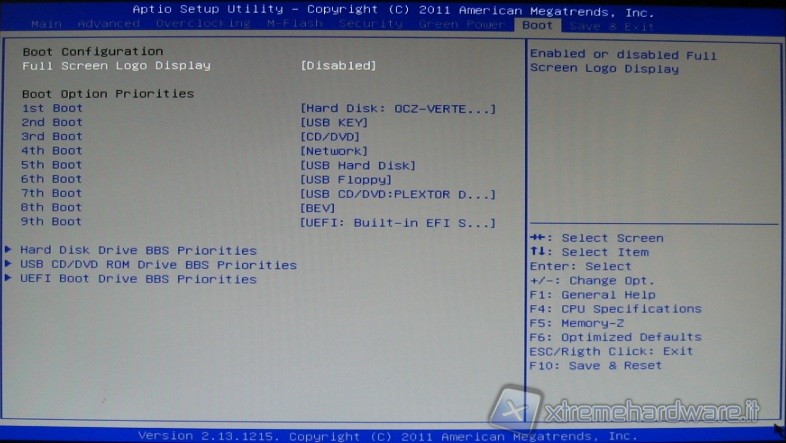
Instead, in Boot, among other things, you can just set the priority of boot devices.
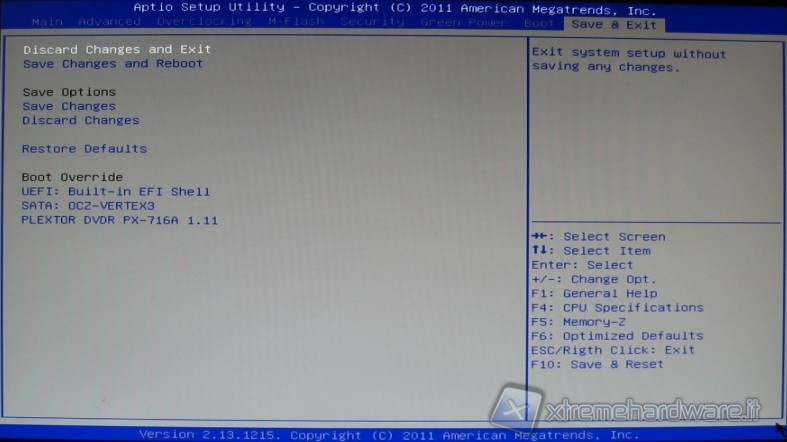
In the last section you can save or not the settings and you can boot with one of the devices listed.
As you can see, it do not really miss anything. It's complete even if not of rapid understanding as the UEFI BIOSes, more advanced and graphically appealing, installed on certain motherboards of recent production. Now on to the next section, where we illustrate both components and the methodology used in conducting various tests.